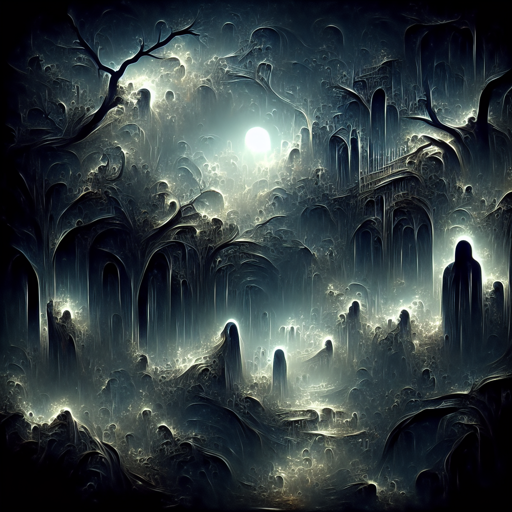
Are you ready to dive into the eerie world of horror-themed artwork? With CALAMITY, a specialized text-to-image AI model, your imagination can manifest nightmares and surreal visuals that capture the essence of the macabre. In this article, we’ll walk you through the process of generating evocative images using this powerful tool, while tackling common hiccups you might encounter along the way.
Getting Started with CALAMITY
Before you embark on your creative journey, ensure that you have the necessary prerequisites installed.
import torch
from diffusers import (
    StableDiffusionXLPipeline,
    KDPM2AncestralDiscreteScheduler,
    AutoencoderKL
)
This snippet imports essential libraries for your project. Think of these libraries as your toolbox, filled with tools that will help you build your masterpiece.
Loading the VAE Component
The first step to harnessing the CALAMITY model is to load the VAE component. This part is crucial as it encodes and decodes images, ensuring details are preserved during generation.
vae = AutoencoderKL.from_pretrained(
    "madebyollin/sdxl-vae-fp16-fix",
    torch_dtype=torch.float16
)
Think of the VAE like a painter who translates the wild strokes of your imagination into structured art. By preloading it, we’re ensuring our artist is ready to go!
Configuring the Pipeline
Next, you’ll create and configure the pipeline that will bring your art to life. This connects your loaded VAE to the CALAMITY model.
pipe = StableDiffusionXLPipeline.from_pretrained(
    "dataautogpt3/CALAMITY",
    vae=vae,
    torch_dtype=torch.float16
)
pipe.scheduler = KDPM2AncestralDiscreteScheduler.from_config(pipe.scheduler.config)
pipe.to('cuda')
Visualize this setup as constructing the canvas on which your painting will be made. Here, we choose materials (the model) and tools (the scheduler) to ensure everything runs smoothly.
Defining Prompts and Generating Images
You’ll need to define a prompt for generating your artwork. This is where your creativity shines! Whether it’s “Sythentic Anime” or a more specific theme, your input guides the output.
prompt = "Sythentic Anime"
negative_prompt = ""
image = pipe(
    prompt,
    negative_prompt=negative_prompt,
    width=1024,
    height=1024,
    guidance_scale=7,
    num_inference_steps=50,
    clip_skip=2
).images[0]
image.save("generated_image.png")
Once you have your prompt, it’s time to unleash the model’s creative potential! Picture this as your palette, where each color (parameter) can be tweaked for desired effects. The output can be akin to a film scene drawn through the visionary lens of a master horror artist.
Troubleshooting Common Issues
As you navigate the world of image generation, occasionally you may run into issues. Here are some tips and tricks to help you resolve them:
- CUDA Out of Memory: If you encounter memory issues, try reducing the image resolution or the number of inference steps.
- Unsuccessful Image Generation: Ensure your prompts are clear and consider varying them to see how the model responds.
- Installation Problems: Double-check your package installations and versions. Revisiting the setup instructions can often resolve these issues.
For more insights, updates, or to collaborate on AI development projects, stay connected with fxis.ai.
Your Creative Journey Awaits!
At fxis.ai, we believe that such advancements are crucial for the future of AI, as they enable more comprehensive and effective solutions. Our team is continually exploring new methodologies to push the envelope in artificial intelligence, ensuring that our clients benefit from the latest technological innovations.

