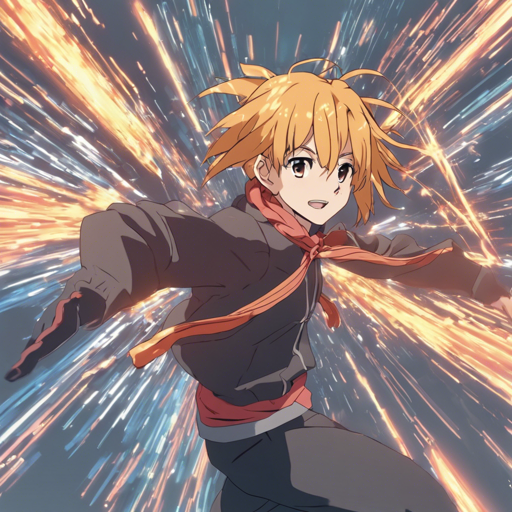
Welcome to your ultimate guide on animating your favorite anime characters with just a single image! We are diving into the fascinating project called Talking Head(?) Anime from a Single Image 3: Now the Body Too. This tool enables you to bring static anime images to life, and I’ll guide you through the entire process, from setup to troubleshooting.
What You Need to Get Started
- Hardware Requirements:
- A powerful Nvidia GPU, like the Titan RTX or any recent gaming GPU (RTX 2080, RTX 3080).
- An iOS device (e.g., iPhone X or newer) with a TrueDepth front-facing camera for facial motion capture.
- Software Requirements:
- Python version = 3.8
- Packages: PyTorch, SciPY, wxPython, Matplotlib, and Jupyter Notebook
- CUDA Toolkit compatible with your GPU.
Setting Up Your Environment
To get started, follow these steps:
- Install Anaconda: This will help manage your Python environment easily.
- Create Your Environment:
conda create -n talking-head-anime-3-demo python=3.8
conda activate talking-head-anime-3-demo
conda install pytorch torchvision torchaudio cudatoolkit=11.3 -c pytorch
conda install scipy
pip install wxpython
conda install matplotlib
Installing and Running the Manual Poser
Once your environment is ready, you can easily animate characters using the manual_poser or ifacialmocap_puppeteer. Let’s start with the manual_poser:
- Open a shell and change to your repository’s root directory.
- Activate your Python environment using the command:
conda activate talking-head-anime-3-demo - Run the following command:
python tha3appmanual_poser.py
Choosing the Right System Variant
You can choose from four neural network variants based on your needs:
- standard_float
- separable_float
- standard_half
- separable_half
Specify the variant through the –model command line option like so:
python tha3appmanual_poser --model variant_nameRunning the IfacialMocap Puppeteer
To bring your facial expressions to the anime character, follow these steps:
- Open iFacialMocap on your iOS device and note its IP address.
- In the shell, activate your Python environment and run the puppeteer:
python tha3appifacialmocap_puppeteer.py - Enter the noted IP in the Capture Device IP textbox and click START CAPTURE!.
Image Requirements
Take note of the constraints for input images to ensure your character animates correctly:
- Resolution of 512 x 512 pixels.
- Must have an alpha channel and include only one humanoid character.
- Character must be upright and facing forward.
- Ensure the head fits within a specified area of the image.
Troubleshooting
If you run into issues, here are some common troubleshooting tips:
- Ensure your GPU drivers are up to date and compatible with the required CUDA Toolkit.
- If using Windows, avoid Python 3.10 due to compatibility issues with wxPython.
- Confirm the input image meets the specified requirements, particularly the resolution and alpha channel.
For more insights, updates, or to collaborate on AI development projects, stay connected with fxis.ai.
Final Thoughts
At fxis.ai, we believe that such advancements are crucial for the future of AI, as they enable more comprehensive and effective solutions. Our team is continually exploring new methodologies to push the envelope in artificial intelligence, ensuring that our clients benefit from the latest technological innovations.

