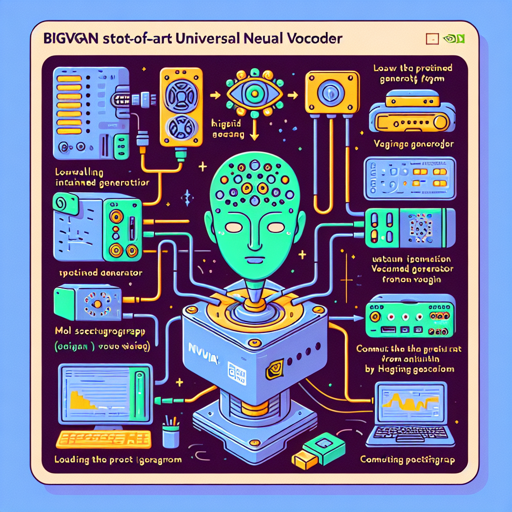
In the realm of audio generation, few innovations have stood out like BigVGAN—NVIDIA’s state-of-the-art universal neural vocoder. This powerful tool employs large-scale training methodologies to synthesize high-quality audio, catering to a variety of applications, from voice synthesis to sound engineering.
Installation of BigVGAN
Getting started with BigVGAN is straightforward. First, you need to install Git LFS, clone the repository, and you’re ready to dive in!
git lfs install
git clone https://huggingface.co/nvidia/bigvgan_v2_44khz_128band_512x
Using BigVGAN: A Step-by-Step Guide
Let’s break down the process of utilizing BigVGAN into manageable steps.
- Load the pretrained BigVGAN generator from Hugging Face Hub.
- Compute the mel spectrogram from your input waveform.
- Generate a synthesized waveform using the mel spectrogram as input.
Here’s a practical example of how to achieve this:
device = 'cuda'
import torch
import bigvgan
import librosa
from meldataset import get_mel_spectrogram

# Instantiate the model. You can optionally set use_cuda_kernel=True for faster inference.
model = bigvgan.BigVGAN.from_pretrained('nvidia/bigvgan_v2_44khz_128band_512x', use_cuda_kernel=False)

# Remove weight norm in the model and set to eval mode
model.remove_weight_norm()
model = model.eval().to(device)

# Load wav file and compute mel spectrogram
wav_path = '/path/to/your/audio.wav'
wav, sr = librosa.load(wav_path, sr=model.h.sampling_rate, mono=True)
wav = torch.FloatTensor(wav).unsqueeze(0)

# Compute mel spectrogram from the ground truth audio
mel = get_mel_spectrogram(wav, model.h).to(device)

# Generate waveform from mel
with torch.inference_mode():
    wav_gen = model(mel)

# Convert the generated waveform to 16 bit linear PCM
wav_gen_float = wav_gen.squeeze(0).cpu()
wav_gen_int16 = (wav_gen_float * 32767.0).numpy().astype('int16')
Explaining the Code: Bringing the Analogy to Life
Think of BigVGAN as a skilled chef, meticulously crafting an exquisite dish. The input audio is the raw ingredient (wav file), and the mel spectrogram serves as the recipe that the chef follows. When the chef (BigVGAN) processes the ingredient (audio) based on the recipe (mel spectrogram), the end product is a delectable synthesized waveform that echoes the characteristics of the original audio but with the chef’s unique flair.
Using Custom CUDA Kernel for Synthesis
If you wish to enhance performance, you can implement a custom CUDA kernel for synthesis:
model = bigvgan.BigVGAN.from_pretrained('nvidia/bigvgan_v2_44khz_128band_512x', use_cuda_kernel=True)This builds the kernel upon first use and saves it for future operations. Just ensure you have the correct version of CUDA installed.
Troubleshooting
While diving into BigVGAN, you may encounter a few roadblocks. Here are some potential issues and solutions:
- CUDA Errors: Ensure that your CUDA environment is properly configured and the version matches your PyTorch installation.
- Audio Quality Issues: Double-check your input audio format and sampling rate. Mismatches can lead to degraded output quality.
- Installation Problems: If you face difficulties during setup, retrace your steps in the installation guide, ensuring all dependencies are met.
For more insights, updates, or to collaborate on AI development projects, stay connected with fxis.ai.
Pretrained Models
To expedite your work with BigVGAN, NVIDIA offers an array of pretrained models, available on Hugging Face Collections. Here’s a quick overview:
| Model Name | Sampling Rate | Mel Band | Upsampling Ratio | Params |
|---|---|---|---|---|
| bigvgan_v2_44khz_128band_512x | 44 kHz | 128 | 512 | 122M |
In Conclusion
BigVGAN opens new avenues in audio synthesis, allowing developers to push the boundaries of what’s possible in audio generation. At fxis.ai, we believe that such advancements are crucial for the future of AI, as they enable more comprehensive and effective solutions. Our team is continually exploring new methodologies to push the envelope in artificial intelligence, ensuring that our clients benefit from the latest technological innovations.

