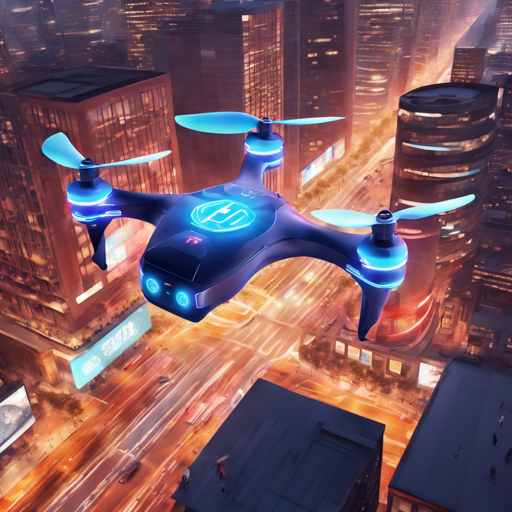
Welcome to a world where drones can navigate and avoid obstacles just like humans! This blog post will guide you through the exciting journey of creating a fully autonomous AI-powered drone. We’ll cover how to set it up, how it works, and a few troubleshooting tips to keep you flying smoothly!
Understanding the Concept
Imagine a drone as a seasoned pilot navigating through the skies. Just like a pilot receives sensory information via their eyes and ears, our drone relies on a variety of sensors, such as cameras and LIDAR, to understand its environment. The drone then processes this sensory data through an End-2-End AI model, which acts as the brain, generating the necessary commands for flying safely. It’s like teaching a child to ride a bike; they learn how to balance, pedal, and navigate through obstacles with practice and guidance.
The Key Components of Our AI-Powered Drone
- Jetson Nano: This little powerhouse runs advanced AI models in real-time, helping our drone operate independently without the need for a constant data connection.
- Obstacle Avoidance System: The AI model detects obstacles and navigates around them just like how we perceive objects in our path.
- Target Tracking: Using an AI-based object detection algorithm, the drone can follow a moving target seamlessly.
Setting Up the Project
Getting your drone ready for flight involves several steps. Here’s a simple guide on how to set it up on a NVIDIA Jetson Nano:
- Follow the instructions in BUILD.md to ensure you have all the required software installed.
- Connect the various hardware components, ensuring everything is securely in place.
- Run the provided scripts to calibrate and test your drone’s functionalities.
How to Make the Drone Follow a Person
The follow person script allows the drone to autonomously follow a person using live RGB camera feed and AI. Here’s how you can initiate the process:
sh sudo python3 follow_person_main.py --mode=flight --debug_path=debugflight1In case you are testing with ArduPilot SITL simulator, change the –mode parameter from flight to test. When you want to land, simply press Q and the drone will automatically land.
Debriefing with Data
To analyze how your drone’s PID (Proportional, Integral, Derivative) controllers are performing, you can plot the debug data. Execute the following command:
sh python3 data_plotter.pyEnsure the correct debug file is specified in the script for accurate readings.
Transforming Your AI Model for Better Performance
If you want to enhance the execution speed of your AI model, converting it to TensorRT can significantly boost performance. Here’s how you can do it:
python -m tf2onnx.convert --saved-model tensorflow-model-path --output model.onnxTroubleshooting Tips
Even the best-laid plans can go astray, so here are some troubleshooting ideas:
- If your drone is not responding, ensure all sensors are properly connected and calibrated.
- Check the logs to diagnose any errors from the AI model.
- Make sure your battery is charged to avoid unexpected landings!
For more insights, updates, or to collaborate on AI development projects, stay connected with fxis.ai.
Final Thoughts
This project is in its early stages and is continually evolving. Handle the code with care since it is experimental. No one wants an accidental crash!
At fxis.ai, we believe that such advancements are crucial for the future of AI, as they enable more comprehensive and effective solutions. Our team is continually exploring new methodologies to push the envelope in artificial intelligence, ensuring that our clients benefit from the latest technological innovations.
Ready to take flight? Happy coding!

