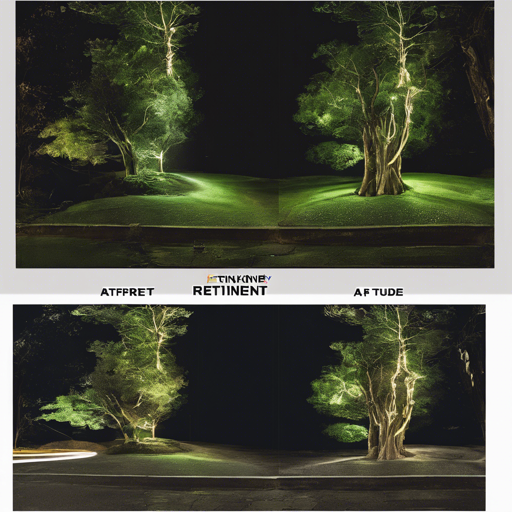
Are you struggling with images caught in the shadowy realms of low-light conditions? Fear not! RetinexNet is here to rescue your visuals from the darkness. This blog will guide you through the process of utilizing RetinexNet for low-light image enhancement using TensorFlow. We’ll break down the requirements, testing, and training, ensuring your journey into the world of image enhancement is as smooth as possible!
What is RetinexNet?
RetinexNet is a deep learning architecture designed specifically for low-light image enhancement through Deep Retinex Decomposition. Originating from the research presented at BMVC18, its purpose is to brighten images without losing essential details.
Requirements
Before diving in, ensure you have the following set up:
- Python
- TensorFlow version 1.5.0
- NumPy
- PIL (Python Imaging Library)
Testing the Model
Ready to see your own images come to life? Here’s how you can test the model:
shell
python main.py --use_gpu=1                        # use GPU or not
                  --gpu_idx=0
                  --gpu_mem=0.5                      # GPU memory usage
                  --phase=test
                  --test_dir=pathtoyourtestdir      # specify your test directory
                  --save_dir=pathtosaveresults      # specify where to save results
                  --decom=0                          # save only enhanced results or with decomposition
If you simply want to see a few demo results, you can use:
shell
python main.py --phase=test                       # results will be saved under .test_results
Training the Model
If you’re interested in training the model yourself, follow these steps:
- Download the training dataset from the project page.
- Store the training pairs of the LOL dataset in
.data/our485and synthetic pairs in.data/syn.
Then, run the training using the following command:
shell
python main.py --use_gpu=1                        # use GPU or not
                  --gpu_idx=0
                  --gpu_mem=0.5                     # GPU memory usage
                  --phase=train
                  --epoch=100                        # number of training epochs
                  --batch_size=16
                  --patch_size=48                    # size of training patches
                  --start_lr=0.001                   # initial learning rate for ADM
                  --eval_every_epoch=20              # evaluate every # epochs
                  --checkpoint_dir=.checkpoint       # auto-create if does not exist
                  --sample_dir=.sample               # directory for saving evaluation results during training
Pro Tips
- For users with a GPU, the model training will only take a few minutes due to its small size.
- Keep in mind, enhancement performance greatly depends on the training parameters. Tinkering with them may yield unexpected results.
Troubleshooting Your Experience
If you encounter any issues during testing or training, consider these troubleshooting ideas:
- Ensure all your dependencies are correctly installed and compatible with each other.
- Check if your GPU is properly configured to avoid memory-related errors.
- Revisit your parameter choices if you experience unexpected model behavior; sometimes returning to the defaults can resolve many issues.
For more insights, updates, or to collaborate on AI development projects, stay connected with fxis.ai.
Conclusion
With this guide, you’re well-equipped to navigate the world of low-light image enhancement through RetinexNet. Image enhancement can be likened to polishing a diamond; it brings out the brilliance in your visuals and offers a clearer perspective. Start enhancing your images today!
At fxis.ai, we believe that such advancements are crucial for the future of AI, as they enable more comprehensive and effective solutions. Our team is continually exploring new methodologies to push the envelope in artificial intelligence, ensuring that our clients benefit from the latest technological innovations.

