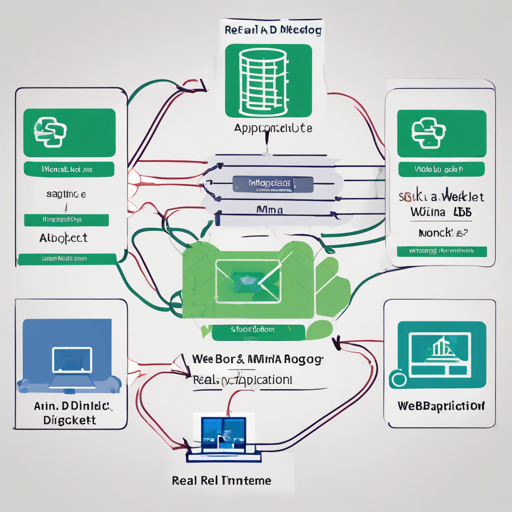
In this article, we will guide you through the process of creating a real-time application using MINA, Express, and MongoDB. By utilizing WebSockets for bidirectional communication and PM2 for process management, this setup will ensure reliability and efficiency.
Prerequisites
- Basic understanding of JavaScript and Node.js.
- Node.js and npm installed on your machine.
- A MongoDB instance accessible to your application.
Step-by-Step Implementation
1. Setting Up the Environment
First, create a project directory and initialize a new Node.js application:
mkdir mina-app
cd mina-app
npm init -y
2. Install Required Packages
Install the necessary dependencies including Express, WebSocket, Mongoose, and PM2:
npm install express socket.io mongoose pm23. Create a Simple Express Server
In your project folder, create a file named app.js and set up an Express server:
const express = require('express');
const https = require('https');
const fs = require('fs');
const app = express();

const options = {
    key: fs.readFileSync('path/to/your/key'),
    cert: fs.readFileSync('path/to/your/cert'),
};

const httpsServer = https.createServer(options, app);
httpsServer.listen(443, () => console.log('Listening on port 443'));
4. Setting Up WebSocket Connection
Integrate WebSocket functionality to your application:
const WebSocket = require('ws');
const wss = new WebSocket.Server({ server: httpsServer });

wss.on('connection', (ws) => {
    ws.on('message', (message) => {
        const msgObj = JSON.parse(message);
        wss.clients.forEach((client) => {
            if (client.readyState === WebSocket.OPEN) {
                client.send(JSON.stringify(msgObj));
            }
        });
    });
});
5. Connecting with MongoDB
Create a separate file named db.js to manage MongoDB connections:
const mongoose = require('mongoose');
mongoose.connect('mongodb://yourUser:yourPassword@127.0.0.1/dbName', { useNewUrlParser: true, useUnifiedTopology: true });

const connection = mongoose.connection;
connection.once('open', () => console.log('Database opened'));
connection.on('error', (err) => console.log('Database connection error: ' + err));
6. Running the Application
To keep your application running, use PM2:
pm2 start app.jsTroubleshooting
If you encounter any issues while setting up your application, here are some troubleshooting steps:
- Ensure that MongoDB is running and accessible.
- Verify your SSL certificate key and path.
- Check for any typo in your code that could lead to runtime errors.
- If the WebSocket connection fails, inspect your network settings to ensure the ports are open.
For more insights, updates, or to collaborate on AI development projects, stay connected with fxis.ai.
Understanding the Code with an Analogy
Imagine your real-time application as a library where your users can borrow books. Each user has a unique ID (session ID) just like a library card. When a user wants to borrow a book, they send a message through a special channel (WebSocket) to the librarian (server), who then checks the availability of the book and updates the list of borrowed books in the system (database). If someone else returns a book, the librarian updates everyone in the library (all connected users) so they can see the latest available titles. This dynamic interaction is what makes your application feel real-time!
At fxis.ai, we believe that such advancements are crucial for the future of AI, as they enable more comprehensive and effective solutions. Our team is continually exploring new methodologies to push the envelope in artificial intelligence, ensuring that our clients benefit from the latest technological innovations.

