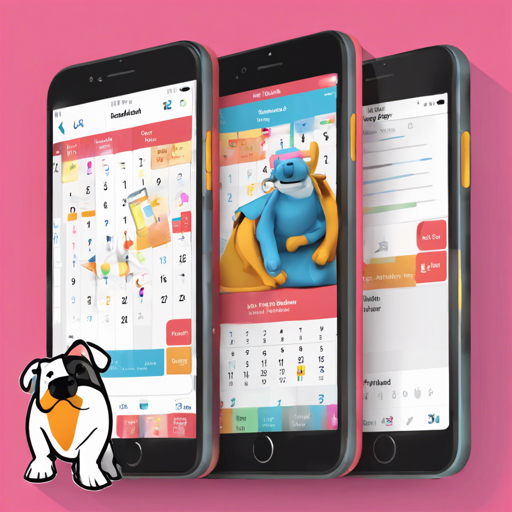
If you’re looking for a modern way to keep track of your reminders, Bulldoggy is a fantastic little web app that can help you manage your time effectively. In this article, we’ll walk you through the steps to get started with Bulldoggy, from installation to usage. Let’s dive in!
What Technologies Make Up Bulldoggy?
Bulldoggy is built using a combination of powerful technologies:
- Python as the main programming language
- FastAPI for the backend
- HTMX for dynamic interactions
- Jinja templates for the frontend
- TinyDB for the database
- Playwright and pytest for testing
Steps to Get Started with Bulldoggy
1. Installing Dependencies
Before you start, ensure that you have a recent version of Python installed. Then, follow these steps:
pip install -r requirements.txtIt’s recommended to install dependencies within a virtual environment to avoid conflicts with other projects.
2. Running the App
To run the app on your local machine, execute the following command:
uvicorn app.main:app --reloadThen, open your browser and navigate to http://127.0.0.1:8000 to load the app.
3. Running the App with Docker
For those who prefer Docker, build the image using:
docker build -t bulldoggy-reminders-app:0.1 .To run the image, use:
docker run -it --rm --name bulldoggy-reminders-app -p 8000:8000 bulldoggy-reminders-app:0.14. Logging Into the App
The application has user authentication configured in the config.json file. The default username is pythonista and the password is I3testing. You may change these credentials to your liking.
5. Setting the Database Path
The app uses TinyDB, which stores its database as a JSON file. By default, the database filepath is set to reminder_db.json. You can change this path in the config.json. If you modify the filepath, the app will automatically create a new, empty database.
6. Using the App
Upon logging in, you can create and manage your reminder lists. The layout is simple: reminder lists appear on the left and items in each list appear on the right. You can:
- Add new reminders
- Edit or delete existing ones
- Strike out completed items
Here’s a glimpse of Bulldoggy’s interface:


7. Reading the Docs
For further details, you can access the API documentation at:
Troubleshooting Tips
If you encounter issues while setting up or using the Bulldoggy app, here are some troubleshooting ideas:
- Ensure that Python is properly installed and that you have the right version.
- Check if your dependencies are installed correctly in your virtual environment.
- If the app doesn’t run, confirm that
uvicornis installed and accessible in your path. - Review your config.json to ensure the database path is set correctly.
For more insights, updates, or to collaborate on AI development projects, stay connected with fxis.ai.
Why Use Python for Bulldoggy?
Python offers great flexibility for building full-stack applications. With Dynamic page handling capabilities through HTMX, you can create web applications without delving deeply into JavaScript. Picture HTMX like a helpful assistant who takes care of the heavy lifting while you focus on the content creation—allowing browsers to dynamically update content without requiring extensive JavaScript knowledge. It means you can stay within the comfort zone of Python, using HTML attributes instead of scripts.
Credits
Bulldoggy was enriched by contributions from various resources including:
- DALL-E generated the logo
- ChatGPT helped generate HTML and CSS components
- Inspirations from speakers like Michael Kennedy.
At fxis.ai, we believe that such advancements are crucial for the future of AI, as they enable more comprehensive and effective solutions. Our team is continually exploring new methodologies to push the envelope in artificial intelligence, ensuring that our clients benefit from the latest technological innovations.
What’s Next?
The developer behind Bulldoggy has a TODO list for future enhancements, including automating API tests, UI tests, and unit tests. Exciting times lie ahead for this handy reminders tool!

