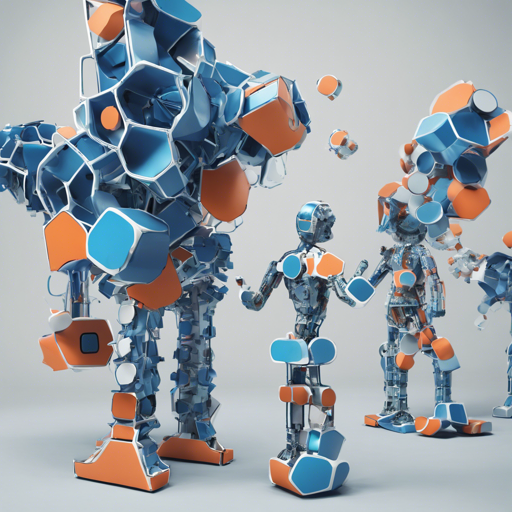
Welcome to the fascinating world of self-assembling agents! In this blog, we will guide you through the process of implementing a PyTorch-based solution for controlling such agents. Our focus will be on utilizing deep reinforcement learning to dynamically self-assemble and coordinate primitive agents into cohesive bodies, showcasing improved generalization capabilities. Let’s embark on this journey!
Understanding the Concept Through Analogy
Imagine a group of tiny robots, like individual Lego blocks, that can come together to form various structures. Just as you can build a car or a house using different Lego pieces, these agents must learn to collaborate and assemble themselves into new and functional forms based on their environment. In this analogy, the Lego blocks represent the primitive agents, and their ability to assemble represents the essence of our project—learning to combine their strengths to accomplish tasks effectively.
Step 1: Setting Up the Repository
To begin, you need to clone the required repositories. Follow these commands in your terminal:
git clone https://github.com/pathak22/modular-assemblies.git
cd modular-assemblies
git clone https://github.com/Unity-Technologies/ml-agents.git
cd ml-agents
git reset --hard 6c5255e
cd ..
bash envs/setup_env.sh
python3 -m venv assemblyEnv
source $PWD/assemblyEnv/bin/activate
pip install --upgrade pip
Step 2: Installation
Next, let’s install the necessary packages. Ensure you have the following requirements:
- CUDNN-5.1
- CUDA-8.0
- Python-3.5
For a detailed setup, run the following commands:
# Install Pytorch from http://pytorch.org
pip install http://download.pytorch.org/whl/cu80/torch-0.3.0.post4-cp35-cp35m-linux_x86_64.whl
pip install torchvision
pip install --upgrade visdom

# Install baselines for Atari preprocessing
pip install gym==0.9.4
git clone https://github.com/openai/baselines.git
cd baselines
git reset --hard b5be53d
pip install -e .

# Additional packages
pip install numpy
pip install matplotlib
pip install pillow
pip install opencv-python

# Fold
cd modular-assemblies/src
git clone https://github.com/nearai/pytorch-tools.git
cd pytorch-tools
git reset --hard 09dccb2
python setup.py install
For quick setup for exact replication, simply run:
pip install -r requirements.txtStep 3: Running the Code
Now that everything is set up correctly, navigate to the source directory and run the test environment:
cd modular-assemblies/src
python test_env.py
Troubleshooting
If you encounter issues during installation or execution, consider the following troubleshooting ideas:
- Ensure that all dependencies are installed by revisiting the installation steps.
- Check Python versions; this setup is tailored for Python 3.5 specifically.
- If the environment setup fails, try recreating the virtual environment.
- Ensure that the CUDNN and CUDA versions are compatible with your current system and other libraries.
For more insights, updates, or to collaborate on AI development projects, stay connected with fxis.ai.
Acknowledgements
This project builds upon Ilya Kostrikov’s PyTorch PPO implementation, which served as a foundational element for developing our methodology. You can view the original implementation here.
At fxis.ai, we believe that such advancements are crucial for the future of AI, as they enable more comprehensive and effective solutions. Our team is continually exploring new methodologies to push the envelope in artificial intelligence, ensuring that our clients benefit from the latest technological innovations.
Learn More About the Project
For more information, check out the project’s website at Project Website or watch our Demo Video.

