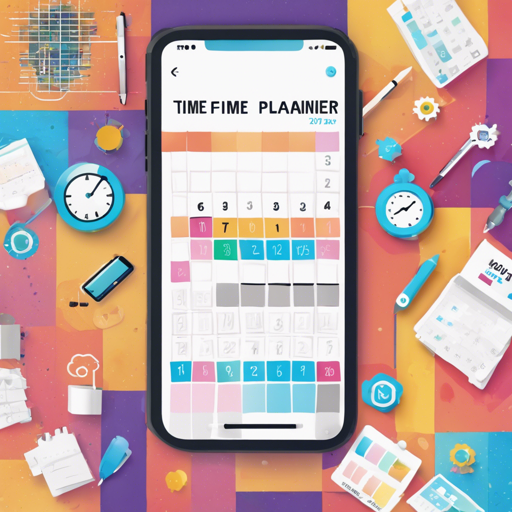
Creating an intuitive and aesthetic time planner for your mobile, desktop, and web application might seem daunting. However, with the Time Planner package for Flutter, it’s as easy as pie! This guide will walk you through the installation and utilization of the time planner widget effortlessly. Let’s dive in!
What is the Time Planner?
The Time Planner is a beautiful and customizable widget that displays tasks on a timeline. Each row represents an hour, while each column denotes a day. You can personalize the headers to display whatever suits your needs best. It’s like designing your week on a calendar, but with the added flexibility of a digital platform.
Getting Started
To integrate the Time Planner into your Flutter project, follow these simple steps:
Step 1: Add Dependencies
Open your pubspec.yaml file and add the following dependency:
dependencies:
  time_planner: ^0.1.2+1
Step 2: Import the Package
Next, import the Time Planner library in your Dart file as follows:
import 'package:time_planner/time_planner.dart';Step 3: Create Tasks
Now, let’s define the tasks that you want to display on the time planner. Here’s an analogy to make things clearer: think of the Time Planner as a stage where each task is a performance. We need to reserve a time slot for each performance to ensure everything runs smoothly.
List tasks = [
  TimePlannerTask(
    color: Colors.purple, // background color for task
    dateTime: TimePlannerDateTime(day: 0, hour: 14, minutes: 30), // Task start time
    minutesDuration: 90, // Task duration in minutes
    daysDuration: 1, // Task duration in days
    child: Text(
      'This is a task',
      style: TextStyle(color: Colors.grey[350], fontSize: 12),
    ),
  ),
];
Step 4: Implement the Time Planner Widget
Finally, you need to integrate the Time Planner widget into your app. Set start and end hours while defining the headers for each day:
TimePlanner(
  startHour: 6,
  endHour: 23,
  headers: [
    TimePlannerTitle(date: 3102021, title: 'Sunday'),
    TimePlannerTitle(date: 3112021, title: 'Monday'),
    TimePlannerTitle(date: 3122021, title: 'Tuesday'),
  ],
  tasks: tasks,
);
Creating Multi-day Tasks
If you have tasks that span multiple days, you can easily configure them by adjusting the daysDuration parameter:
daysDuration: 3, // This task lasts for 3 daysCustomizing the Time Planner
You can also customize the appearance of your time planner using the TimePlannerStyle. Just picture your time planner as a blank canvas that you can paint with your preferred colors!
TimePlannerStyle(
  backgroundColor: Colors.blueGrey[900],
  cellHeight: 60,
  cellWidth: 60,
  dividerColor: Colors.white,
  showScrollBar: true,
  horizontalTaskPadding: 5,
  borderRadius: const BorderRadius.all(Radius.circular(8)),
);
Troubleshooting
If you encounter any issues while implementing the Time Planner, here are some troubleshooting tips to consider:
- Ensure you have added the correct version of the dependency in your
pubspec.yamlfile. - Make sure that you have imported the package correctly in your Dart file.
- Consider testing on different platforms: mobile, desktop, and web to ensure compatibility.
- If the timer does not display as expected, check your
startHourandendHoursettings. - For layout issues, double-check the cell dimensions and styles.
- For more insights, updates, or to collaborate on AI development projects, stay connected with fxis.ai.
Conclusion
Adopting the Time Planner for your Flutter applications can significantly enhance user experience. It aids in organized task management with a flair of customization, allowing your app to stand out!
At fxis.ai, we believe that such advancements are crucial for the future of AI, as they enable more comprehensive and effective solutions. Our team is continually exploring new methodologies to push the envelope in artificial intelligence, ensuring that our clients benefit from the latest technological innovations.

