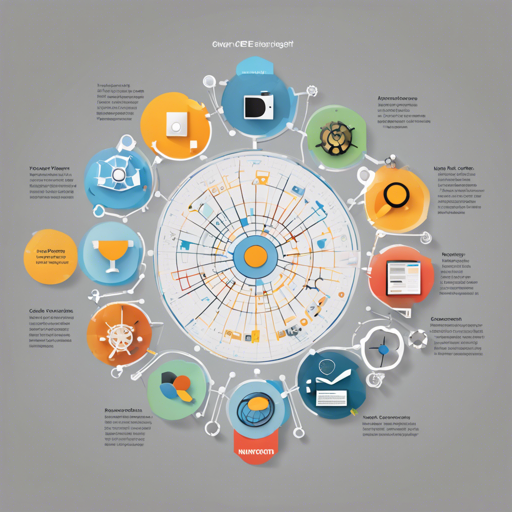
The AOE Technology Radar is a fantastic tool for visualizing various technologies and their status in your development practices. With the release of version 4.0.0, now built with Next.js, configuring your own radar has never been easier! Follow along to set yours up seamlessly.
Table of Contents
- Step 1: Create a New Project
- Step 2: Change Logo and Favicon
- Step 3: Configure the Radar
- Step 4: Add a Help Page with Explanations
- Step 5: Create the Radar Items
- Step 6: Build Your Radar
- Advanced Styling with Custom CSS
Step 1: Create a New Project
First, ensure that Node.js is installed on your machine. Next, create a new folder for your project and set up your package.json file. Here’s a basic template:
{
  "name": "aoe-techradar",
  "version": "1.0.0",
  "license": "MIT",
  "scripts": {
    "build": "techradar build",
    "serve": "techradar serve"
  },
  "dependencies": {
    "aoe_technology_radar": "^4"
  }
}
Run npm install to install the dependencies and npm run build to create the initial radar. This command generates essential files, including config.json and about.md, if they don’t already exist.
Step 2: Change Logo and Favicon
Place your logo.svg and favicon.ico in the public folder beside the package.json. Aim for an ideal logo size of 150px x 60px.
If you’d like to use a different file type for your logo, copy it to the public folder and specify it in your config.json like this:
"logoFile": "acme-logo.png"Step 3: Configure the Radar
Open your config.json to tailor the radar according to your requirements. Here’s a concise breakdown:
- basePath: Set this if hosting under a sub-path; otherwise, use a dot. The default is
techradar. - baseUrl: Your radar’s full URL for sitemap access.
- logoFile: (optional) File path in public folder.
- colors: Define a color scheme for the radar.
- quadrants: Configure the structure of the radar’s four quadrants.
- flags: Manage the flags displayed on your radar.
Step 4: Add a Help Page with Explanations
Edit the about.md file beside your package.json. This file will display content for your help-and-about-tech-radar page. You can customize the title through the labels in your config.json.
Step 5: Create the Radar Items
To create your radar items, navigate to the radar folder. You can either edit existing items or create new ones. Each item should be written in Markdown format and follow this structure:
---
title: React
quadrant: languages-and-frameworks
tags: [frontend, coding]
---

Text goes here. You can use **markdown** here.
Step 6: Build Your Radar
By now, your project folder structure should look like this:
- about.md
- config.json
- package.json
- public
- radar
Run npm run build to build the radar and upload the contents from the .build folder to your server. Access your radar pre-release by executing npm run serve and visiting http://localhost:3000/techradar or your specified base path.
Advanced Styling with Custom CSS
If you want to change the visual appearance, add your custom CSS rules to the custom.css file. However, be wary—future versions may alter CSS structure. For stable styling, consider using selectors like:
.body {
  background: url(....public/background.png);
}

h1, h2, h3 {
  font-family: "Times New Roman", Times, Baskerville, Georgia, serif;
}
Changing CSS won’t reflect until you execute npm run serve or npm run build.
Troubleshooting
If you encounter any challenges during setup, consider the following troubleshooting ideas:
- Ensure all file paths in your
config.jsonare correct. - Double-check that all required files like
about.mdare in the correct directories. - If your radar doesn’t appear, confirm that the npm commands executed successfully without errors.
For more insights, updates, or to collaborate on AI development projects, stay connected with fxis.ai.
Conclusion
At fxis.ai, we believe that such advancements are crucial for the future of AI, as they enable more comprehensive and effective solutions. Our team is continually exploring new methodologies to push the envelope in artificial intelligence, ensuring that our clients benefit from the latest technological innovations.

