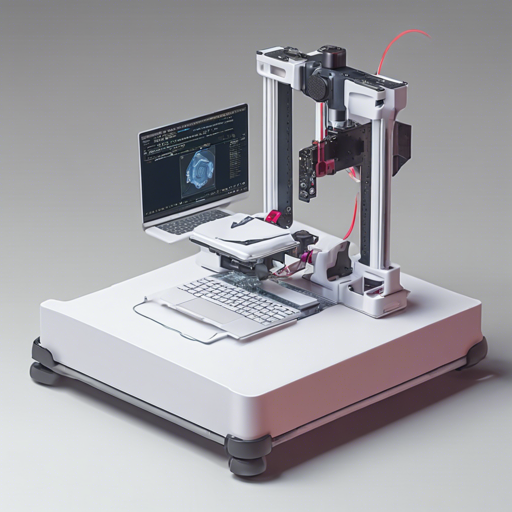
Welcome to the exciting realm of online 3D reconstruction! In this article, we’ll guide you through the creation of a pipeline using the RGB-D camera, specifically the Kinect V2. This project aims to reconstruct small scale objects using visual data, ensuring a robust and intuitive approach to 3D modeling.
Understanding the Pipeline
To make sense of this complex project, think of the pipeline as a cooking recipe where each ingredient and step is crucial for creating a delightful meal — or in our case, a detailed 3D model. Here’s how the process unfolds:
- Base Ingredients: The main tools you’ll need are a Kinect V2 and a computer running ROS.
- Preparation: Before cooking, you must prepare your workstation:
- Crop the points of interest from the raw point cloud.
- Remove the base plane that the object sits on (like getting rid of an unwanted part of your dish).
- Eliminate outliers (unwanted flavors) that can spoil the overall taste of your reconstruction.
- Main Cooking: The registration part uses Open3D and employs two steps (like baking then decorating a cake):
- First, you perform a rough registration to get a general shape (think of making a basic cake).
- Next, you refine it to add the intricate details (like frosting and decoration).
- Final Presentation: The completed model is visualized, showing how the different elements come together beautifully, similar to how you would display your culinary masterpiece!
How to Set Up Your Mini 3D-Scanner
Here’s a quick overview of how to get started:
- Ensure you have the hardware: Kinect V2, a turntable, and an Ubuntu computer.
- Install necessary software such as ROS and libraries like PCL and Open3D.
- Set up the Kinect V2 and turntable to avoid any reflective surfaces that could distort the reconstruction.
Step-by-Step Instructions
Follow these steps to run your project:
- In your ROS environment, run the command:
roslaunch kinect_bridge kinect_bridge.launchto connect the Kinect V2. - Then execute:
roslaunch scanner pipeline.launchto initiate the reconstruction pipeline. - All intermediate Point Cloud Data (PCD) files will be stored in the **.data** folder, while your final PCD file can be found in the **.data/result** folder.
Troubleshooting Tips
If you encounter any issues while setting up your scanner, here are some troubleshooting ideas:
- Formatting issues? Ensure your Kinect V2 is properly calibrated in relation to the turntable.
- Getting distorted outputs? Check whether the turntable is reflective and remove all reflective objects from the vicinity.
- Software errors? Make sure you’ve installed all dependencies and that they’re compatible with your ROS version.
For more insights, updates, or to collaborate on AI development projects, stay connected with fxis.ai.
Conclusion
By following the instructions above, you can create your own Mini 3D-Scanner that utilizes visual data for online 3D reconstruction. This project not only simplifies the process of 3D modeling but also opens up a world of creative possibilities!
At fxis.ai, we believe that such advancements are crucial for the future of AI, as they enable more comprehensive and effective solutions. Our team is continually exploring new methodologies to push the envelope in artificial intelligence, ensuring that our clients benefit from the latest technological innovations.

