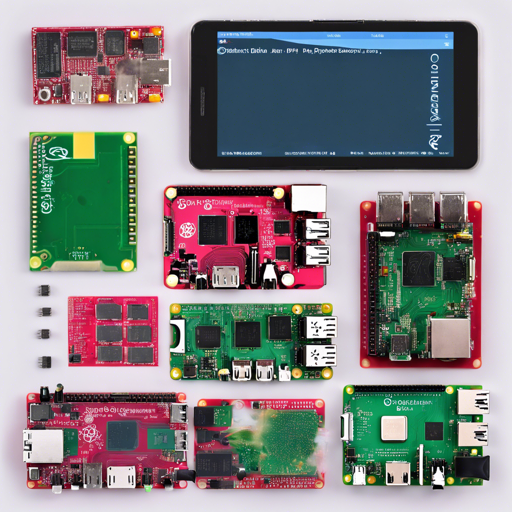
Are you a Raspberry Pi enthusiast ready to dive into creating custom Debian OS images? Look no further! The rpi23-gen-image.sh script is your companion in generating Debian OS images for various Raspberry Pi models. In this guide, we’ll walk through the steps of utilizing this advanced bootstrapping shell script, ensuring you set up your Raspberry Pi with ease.
Step 1: Build Dependencies
Before we jump into using the script, we must first ensure that the necessary dependencies are in place. The following Debian packages should be installed on your build system:
- debootstrap
- debian-archive-keyring
- qemu-user-static
- binfmt-support
- dosfstools
- rsync
- bmap-tools
- whois
- git
- bc
- psmisc
- dbus
- sudo
This ensures that your environment is ready for the bootstrapping process. Don’t worry—the script will check for these packages, and prompt you to install any missing ones!
Step 2: Understanding Command-Line Parameters
The beauty of rpi23-gen-image.sh lies in its flexibility. You can pass various command-line parameters to customize your OS features. For example, if you want to enable U-Boot, and disable the console, you would run:
ENABLE_UBOOT=true ENABLE_CONSOLE=false ./rpi23-gen-image.shThink of parameters as switches in a smart home. You can toggle them on or off to customize your environment as needed.
Step 3: Using Configuration Template Files
When you don’t want to remember all the command-line flags, configuration template files come to the rescue! You can create a template and store your preferred settings.
CONFIG_TEMPLATE=rpi3stretch ./rpi23-gen-image.shThis way, a simple command will apply all your saved preferences, making your life easier!
Step 4: Flashing the Image
Once your image is generated, it’s time to flash it onto a microSD card. Using bmaptool can speed up the process compared to dd.
bmaptool copy ./images/buster2017-01-23-rpi3-buster.img /dev/mmcblk0This command copies your newly created image to the specified device, ready to power your Raspberry Pi.
Troubleshooting
If you encounter any issues during this process, here are some troubleshooting tips:
- Ensure all build dependencies are correctly installed.
- Verify that you have the correct permissions to execute the script.
- Check for any errors in the command-line output; they often provide clues on what went wrong.
- If using a custom kernel, ensure that your kernel source path is correct.
For more insights, updates, or to collaborate on AI development projects, stay connected with fxis.ai.
Conclusion
By following these steps, you’re well on your way to creating custom Debian images for your Raspberry Pi. The rpi23-gen-image.sh script unlocks a world of possibilities, allowing you to build tailored Linux experiences for your projects. At fxis.ai, we believe that such advancements are crucial for the future of AI, as they enable more comprehensive and effective solutions. Our team is continually exploring new methodologies to push the envelope in artificial intelligence, ensuring that our clients benefit from the latest technological innovations.

