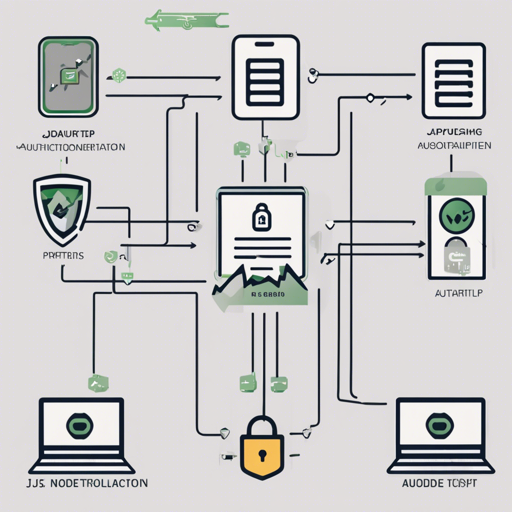
Welcome to our guide on using Permit, an unopinionated authentication library designed for building Node.js APIs effortlessly. If your goal is to enhance your API’s security with a layer of authentication, you’re in the right place! This article will walk you step-by-step through the usage of Permit, explore its benefits, and provide troubleshooting insights to ensure a smooth integration process.
What is Permit?
Permit allows you to incorporate authentication in your Node.js APIs seamlessly. It’s compatible with popular server frameworks like Express, Koa, Hapi, and Fastify. Moreover, its simplicity allows it to work whether you’re dealing with REST or GraphQL APIs.
Getting Started with Permit
To authenticate users, Permit supports two common methods: bearer tokens or username and password. Below is an analogy to understand how it works.
Understanding Permit with an Analogy
Think of your API as a nightclub. Without an ID check at the door, anyone can walk in, making it unsafe. Permit serves as the bouncer at that nightclub, tasked with checking IDs (bearer tokens or username/passwords) before allowing entry. If someone doesn’t have an ID, or if it’s invalid, they’re turned away and can’t access the party inside.
Implementing Bearer Token Authentication
Here’s a simple example of how to use bearer token authentication with Permit:
import Bearer from permit;

const permit = new Bearer({ query: 'access_token' });

async function handler(req, res) {
    // Try to find the bearer token in the request
    const token = permit.check(req);

    // No token: credentials were not provided
    if (!token) {
        permit.fail(res);
        throw new Error('Authentication required!');
    }

    // Authenticate the token however you’d like...
    const user = await db.users.findByToken(token);

    // No user: invalid credentials
    if (!user) {
        permit.fail(res);
        throw new Error('Authentication invalid!');
    }

    // They were authenticated, so continue with your business logic...
}
Why Choose Permit?
The traditional option, Passport.js, is geared towards web applications and can clutter your code with unnecessary complexity. Permit directly addresses these challenges:
- API First: Permit is designed for APIs specifically, which makes it less bloated.
- Stateless Requests: The stateless nature of APIs allows Permit to avoid complex session handling.
- Framework Agnostic: You aren’t locked into a specific framework or data model, which offers great flexibility.
- Unopinionated Interface: Write your authentication logic just like any standard route handler.
Examples to Get You Started
Permit caters to various frameworks. Check out these examples to see how you can implement it:
Documentation
For a comprehensive understanding, visit the following documentation:
Troubleshooting
If you encounter any issues while using Permit, consider the following troubleshooting steps:
- Check whether the required packages are correctly installed and up to date.
- Verify that the authentication logic correctly implements error handling as shown in the example.
- Make sure your API’s request headers are set correctly to include the bearer token.
For more insights, updates, or to collaborate on AI development projects, stay connected with fxis.ai.
At fxis.ai, we believe that such advancements are crucial for the future of AI, as they enable more comprehensive and effective solutions. Our team is continually exploring new methodologies to push the envelope in artificial intelligence, ensuring that our clients benefit from the latest technological innovations.
Conclusion
Implementing Permit in your Node.js API can simplify authentication, reduce complex dependencies, and keep your codebase clean. By treating your API like a bouncer for a club, you ensure that only properly authenticated users gain entrance to your valuable resources!

