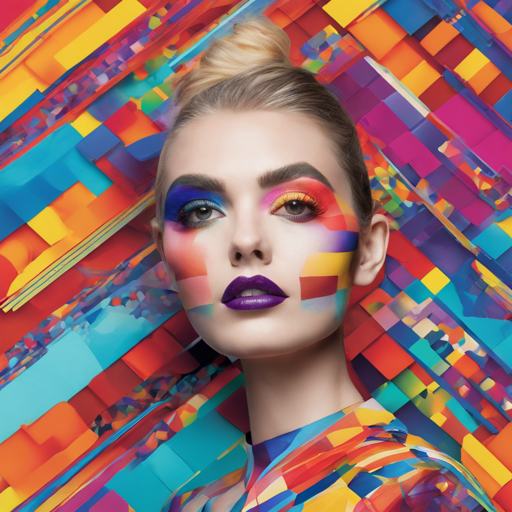
Welcome to the world of advanced makeup transfer using the Color-Pattern Makeup (CPM) framework! This blog post guides you through the steps needed to successfully set up and utilize CPM, which brilliantly transfers colors and patterns from one makeup style to another, surpassing previous models.
Datasets
Before we dive into implementation, let’s understand the datasets necessary for this procedure. The CPM framework introduces four unique datasets:
- CPM-Real: 3,895 real makeup styles.
- CPM-Synt-1: 5,555 synthetic makeup images with pattern segmentation masks.
- CPM-Synt-2: 1,625 triplets of makeup, non-makeup, and ground-truth images.
- Stickers: 577 high-quality images with an alpha channel.
Moreover, it utilizes other publicly available datasets like the Makeup Transfer Dataset.
Getting Started
Now that we’ve understood the datasets involved, let’s get our hands on some code!
Requirements
- Python: 3.7
- Pytorch: 1.6.0
- TensorFlow GPU: 1.14
- Segmentation Models for Pytorch: GitHub Link
Installation
# Clone the repository
git clone https://github.com/VinAIResearch/CPM.git
cd CPM

# Install dependencies
conda env create -f environment.yml
Downloading Pre-trained Models
To execute CPM effectively, download the necessary pre-trained models:
# Create checkpoints folder
mkdir checkpoints
cd checkpoints
wget https://public.vinai.io/CPM_checkpoints/color.pth
wget https://public.vinai.io/CPM_checkpoints/pattern.pth
Usage Example
Here’s how you can invoke CPM:
# Color+Pattern
CUDA_VISIBLE_DEVICES=0 python main.py --style .imgs/style-1.png --input .imgs/non-makeup.png

# Color Only
CUDA_VISIBLE_DEVICES=0 python main.py --style .imgs/style-1.png --input .imgs/non-makeup.png --color_only

# Pattern Only
CUDA_VISIBLE_DEVICES=0 python main.py --style .imgs/style-1.png --input .imgs/non-makeup.png --pattern_only
The processed output will be saved in result.png.
Training and Evaluation
CPM’s Color and Pattern branches function independently yet share a similar workflow comprising:
- Data preparation: Generating texture maps of faces.
- Training: Please refer to the specific branches for detailed implementation.
Troubleshooting
Sometimes, things may not go as planned, and you may encounter an error. Here are some common issues and their solutions:
- ImportError: libGL.so.1: cannot open shared object file: No such file or directory
Solution:sudo apt updateandsudo apt install libgl1-mesa-glx - RuntimeError: Expected tensor for argument #1 input to have the same device as tensor for argument #2 weight
Solution: AddCUDA_VISIBLE_DEVICESbefore execution, e.g.,CUDA_VISIBLE_DEVICES=0 python main.py - RuntimeError: cuda runtime error (999): unknown error
Solution:sudo rmmod nvidia_uvmfollowed bysudo modprobe nvidia_uvm
For more insights, updates, or to collaborate on AI development projects, stay connected with fxis.ai.
Conclusion
By following this guide, you should be well on your way to mastering CPM and achieving stunning makeup transfers with ease. Remember, at fxis.ai, we believe that such advancements are crucial for the future of AI, which enables more comprehensive and effective solutions. Our team is continually exploring new methodologies to push the envelope in artificial intelligence, ensuring that our clients benefit from the latest technological innovations.

