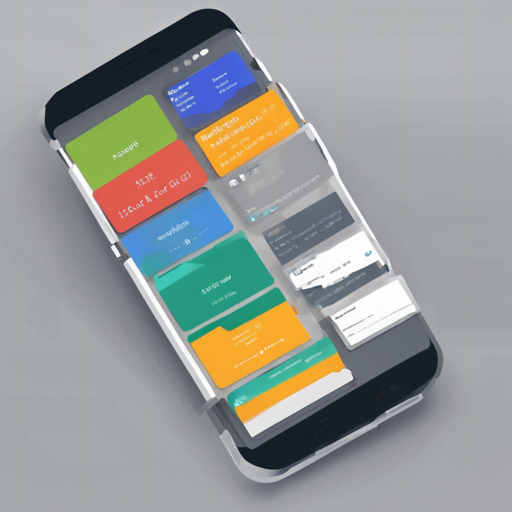
Are you looking to add an engaging UI element to your Android application? The FlippableStackView library allows you to create a visually stunning stack of views where the top item can be flipped to reveal the item underneath. This blog post will guide you through implementing this library step-by-step while providing insights on customization and troubleshooting.
1. Getting Started with FlippableStackView
First things first, let’s understand how to use the FlippableStackView library in your project:
Include the Library
- To include FlippableStackView in your project, add the following dependency to your
build.gradlefile:
dependencies {
        compile 'com.bartoszlipinski.flippablestackview:library:1.2.1'
    }
Set Up the XML Layout
- In your layout XML file, add the FlippableStackView inside your desired parent layout:
<com.bartoszlipinski.flippablestackview.FlippableStackView
        android:id="@+id/stack"
        android:layout_width="match_parent"
        android:layout_height="match_parent" />
Initialize the Stack in Your Activity
- In your activity or fragment, you can initialize the FlippableStackView as follows:
FlippableStackView stack = (FlippableStackView) findViewById(R.id.stack);
    stack.initStack(2); // Initialize the stack with 2 views
    stack.setAdapter(mStackAdapter); // Assuming mStackAdapter is your PagerAdapter
2. Understanding the Code: An Analogy
Think of the FlippableStackView like a book with its pages stacked one on top of the other. Each page represents a view in the stack. When you want to see what’s on the next page, you can simply flip the page over. In this case, the top view (or page) of the stack is flippable, allowing users to reveal the next view below it.
When you initialize the stack with a number (e.g., 2), you are essentially telling the stack how many “pages” it should manage. By setting the adapter, you’re populating the stack with content, just like loading the book with stories. It is important to note that the views get displayed in reverse order—so the bottom-most view is the first one in the adapter!
3. Customizing the FlippableStackView
The FlippableStackView comes with a range of customization options:
- initStack(int numberOfStacked) – Sets up the stack with the default scale and orientation.
- initStack(int numberOfStacked, StackPageTransformer.Orientation orientation) – Lets you specify the orientation.
- initStack(int numberOfStacked, StackPageTransformer.Orientation orientation, float currentPageScale, float topStackedScale, float overlapFactor, StackPageTransformer.Gravity gravity) – Allows customization of scaling and alignment parameters.
4. Troubleshooting Tips
While implementing the FlippableStackView, you may encounter some common issues. Here are some troubleshooting ideas:
- Issue: Views aren’t displaying as expected – Ensure that you have set the correct parameters when initializing the stack and that your adapter is populated correctly.
- Issue: Flipping doesn’t work – Check if the FlippableStackView is set up properly in your XML file and initialized in your activity.
- Issue: Stack appearance issues – Use the customization methods to adjust scaling and alignment according to your layout requirements.
For more insights, updates, or to collaborate on AI development projects, stay connected with fxis.ai.
Conclusion
At fxis.ai, we believe that such advancements are crucial for the future of AI, as they enable more comprehensive and effective solutions. Our team is continually exploring new methodologies to push the envelope in artificial intelligence, ensuring that our clients benefit from the latest technological innovations.
With the steps outlined in this guide, you’re now ready to implement and customize the FlippableStackView to enhance your Android app’s user interface!

