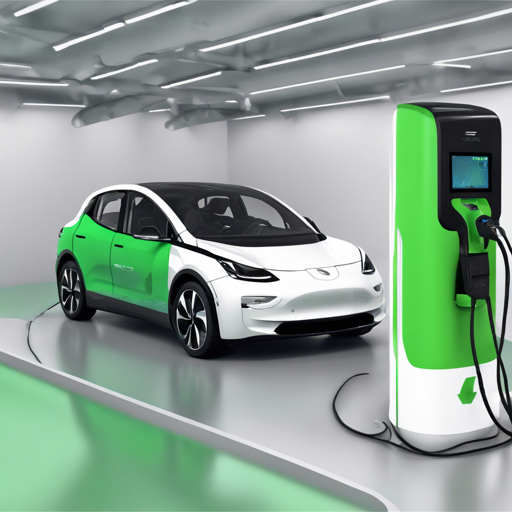
SteVe (Steckdosenverwaltung) is a fantastic open-source project that simplifies the management of electric vehicle (EV) charging points. With the rise of electric mobility, being able to easily set up and manage these charge points is essential.
Introduction
Originating from RWTH Aachen University in 2013, SteVe aims to enhance the use of electric mobility with straightforward installation and management capabilities. It manages charge points, user data, and RFID cards for authentication, and has been successfully tested in real-world settings.
Getting Started with SteVe
- Supported OCPP Versions:
- OCPP 1.2S
- OCPP 1.2J
- OCPP 1.5S
- OCPP 1.5J
- OCPP 1.6S
- OCPP 1.6J
- System Requirements:
- JDK 17 or newer
- Maven
- MySQL or MariaDB
Configuration and Installation Steps
1. Database Preparation
Make sure that the time zone of the MySQL server matches that of SteVe. It’s recommended to set it to UTC. Use the following SQL commands to initialize the database:
CREATE DATABASE stevedb CHARACTER SET utf8 COLLATE utf8_unicode_ci;
CREATE USER steve@localhost IDENTIFIED BY changeme;
GRANT ALL PRIVILEGES ON stevedb.* TO steve@localhost;
2. Download and Extract SteVe
Use the following commands to download and extract SteVe:
wget https://github.com/steve-community/steve/archive/steve-X.X.X.tar.gz
tar xzvf steve-X.X.X.tar.gz
cd steve-X.X.X
3. Configure SteVe
Before building, adjust the following in main.properties:
- Change database configuration
- Change the host IP address
- Change web interface credentials
- Enable HTTPS if needed
4. Build SteVe
Compile SteVe using Maven with the following command:
./mvnw package5. Run SteVe
To start the application, run:
java -jar target/steve.jarUsing Docker with SteVe
If you prefer Docker, you can skip the earlier steps and use:
docker compose up -dConfigure Docker settings in main.properties as described in the configuration steps.
First Steps After Installation
Once SteVe is running, access your web interface using:
http://your-server-ip:port/steve/manager
Adding a Charge Point
- Navigate to *Data Management* -> *Charge Points* -> *Add*.
- Enter the ChargeBox ID and confirm.
Troubleshooting
If you encounter issues, consider these troubleshooting ideas:
- Check MySQL connectivity and user permissions.
- Ensure the OCPP version matches the charge point configuration.
- Verify the configuration settings in main.properties.
- Consult the FAQ for common issues.
For more insights, updates, or to collaborate on AI development projects, stay connected with fxis.ai.
Final Words
At fxis.ai, we believe that such advancements are crucial for the future of AI, as they enable more comprehensive and effective solutions. Our team is continually exploring new methodologies to push the envelope in artificial intelligence, ensuring that our clients benefit from the latest technological innovations.
Have fun with SteVe and enjoy managing your electric charge points efficiently!

