
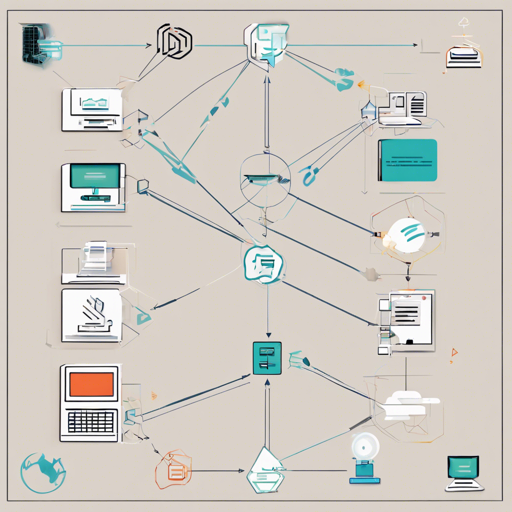
In today’s digital landscape, real-time communication is becoming increasingly essential for applications. One of the most effective ways to achieve this is through WebSockets. This blog will guide you through how to set up a WebSocket connection, ensuring that your application can interact dynamically with users.
What are WebSockets?
WebSockets provide a way to open a persistent connection between a client and a server, enabling bi-directional, real-time communication. Think of it like a two-way street; once the road is open, both vehicles (client and server) can travel freely in either direction without needing to stop for gas (or make a new connection each time they want to communicate).
Getting Started with WebSocket Implementation
Follow these straightforward steps to create a WebSocket connection:
1. Setting Up Your Server
Start by establishing a WebSocket server. Assuming you’re using Node.js, you can set it up as follows:
const WebSocket = require('ws');
const server = new WebSocket.Server({ port: 8080 });

server.on('connection', (socket) => {
    console.log('A new client connected!');
    socket.on('message', (message) => {
        console.log(`Received message: ${message}`);
    });
    socket.send('Hello from the server!');
});
In this snippet:
- We’re creating a WebSocket server on port 8080.
- When a client connects, a message is logged to the console.
- The server listens for incoming messages from the client.
- Finally, it sends a welcome message back to the client.
2. Setting Up Your Client
Next, you need to create a client to interact with your server:
const socket = new WebSocket('ws://localhost:8080');

socket.addEventListener('open', (event) => {
    socket.send('Hello from the client!');
});

socket.addEventListener('message', (event) => {
    console.log(`Message from server: ${event.data}`);
});
In the client code:
- We establish a connection to the WebSocket server running on the same machine.
- As soon as the connection opens, the client sends its own message to the server.
- The client then listens for messages coming back from the server.
Troubleshooting Common Issues
Sometimes, things may not go as planned during your WebSocket implementation. Here are some troubleshooting tips:
- Connection Refused: Ensure your server script is running and listening on the correct port. If you try to connect when the server isn’t running, you’ll get this error.
- Cross-Origin Issues: If your client and server run on different domains, be sure you have the appropriate CORS policy in place.
- Network Problems: Verify your firewall settings to ensure port 8080 is open.
For more insights, updates, or to collaborate on AI development projects, stay connected with fxis.ai.
Conclusion
Congratulations! You’ve set up your WebSocket connection successfully. With this technology, you can create rich and interactive applications that require live data exchanges.
At fxis.ai, we believe that such advancements are crucial for the future of AI, as they enable more comprehensive and effective solutions. Our team is continually exploring new methodologies to push the envelope in artificial intelligence, ensuring that our clients benefit from the latest technological innovations.