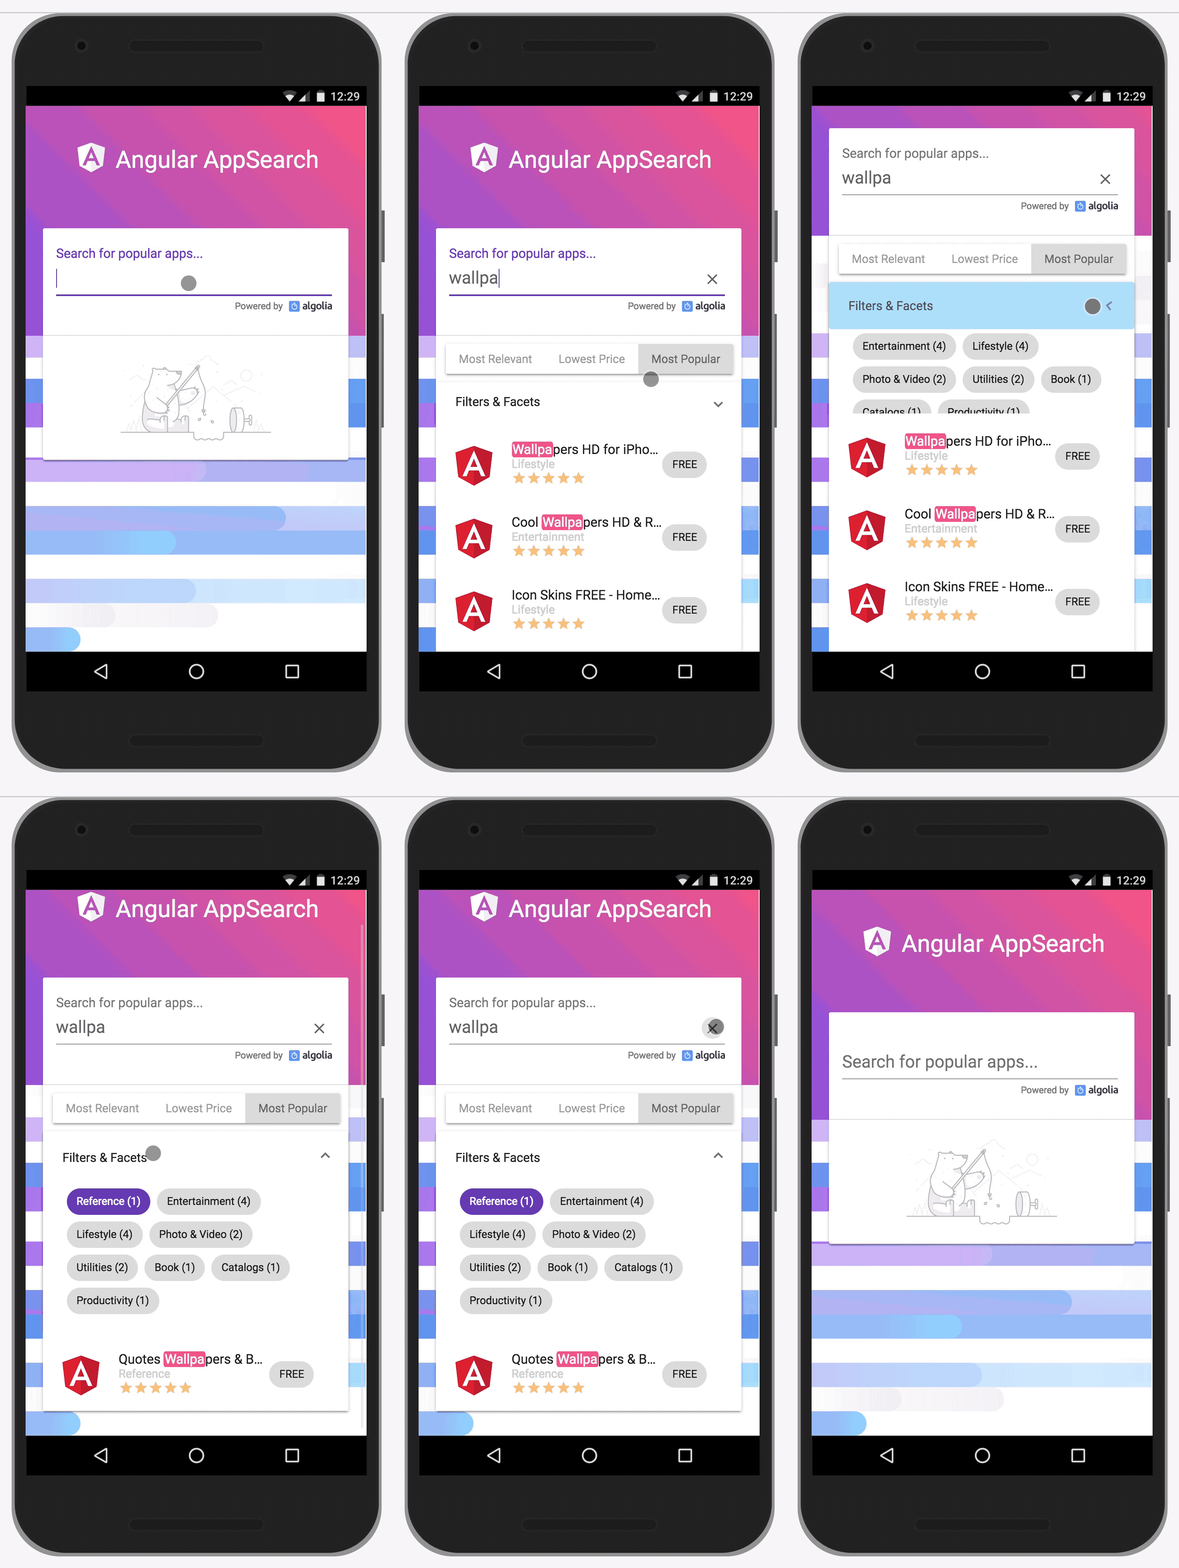
Unlock the power of an efficient search application powered by Angular! This guide will take you step-by-step through the process of setting up the Angular Search Experience project, equipped with essential features like a search box, sorting options, and much more.
Overview
Powered by 

Setting Up the Project
Cloning the Source Files
To start, you’ll need to clone the project from GitHub. First, ensure you have Git installed on your machine. If it’s not installed yet, you can check out the installation guide here.
Once Git is installed, open a terminal window and execute the following command:
git clone https://github.com/manekinekko/angular-search-experience.gitInstalling Dependencies
Now that you have cloned the repository, navigate into the project directory:
cd angular-search-experienceRun the following command to install all project dependencies:
npm installStarting the Development Server
For security and good practice, you’ll need an Authorization header to request the search API. Add the following header:
Authorization: SearchToken this-is-a-fake-tokenTo set up environment variables for your API key, create a .env file in the functions folder using the provided env template file. The file should include:
algolia_applicationid=YOUR_ALGOLIA_APPLICATION_IDalgolia_apikey=YOUR_ALGOLIA_API_KEY
You can obtain your application ID and API key at Algolia API Keys section. You must create an account to access your key.
Starting the Local Server
Option 1 (Recommended): Express
To run the server locally, execute the following command:
npm run start:backendOption 2 (Advanced): Cloud Function
If you want to operate using a serverless approach with Firebase, first ensure you are logged in to your Firebase account. You must also install firebase-tools.
Run:
npm run start:backend:firebaseThis command serves the Cloud Function locally on http://localhost:5000/angular-search-experience/us-central1/search.
The Front-End Application
To start the front-end application, run the following command at the project root:
npm startVisit http://localhost:4200 to view your application, which will automatically reload as you make changes.
Building and Deploying
To generate production-ready files, execute:
npm run buildThe output will be saved under dist/angular-search-experience. For Firebase deployment, build the project and run:
npm run deployEnsure that you have the necessary permissions to deploy to the Firebase project.
Known Issues and Troubleshooting
- If you encounter an error like
Found incompatible module, try this workaround: - Run
nvm use 8.0within the functions folder. - Run
npm install, then navigate back and start the backend again withnpm run start:backend.
If issues persist or you have questions, please reach out! For more insights, updates, or to collaborate on AI development projects, stay connected with fxis.ai.
Application Features
The application boasts several features including a search box, search results with highlights, various sort options, and the ability for lazy loading results. In addition, it includes an experimental voice-activated chatbot for enhanced user interaction!
Conclusion
By following this guide, you can set up your very own Angular Search Experience application. Dive into the world of modern web applications with powerful search functionalities to cater to your users’ needs!
At fxis.ai, we believe that such advancements are crucial for the future of AI, as they enable more comprehensive and effective solutions. Our team is continually exploring new methodologies to push the envelope in artificial intelligence, ensuring that our clients benefit from the latest technological innovations.

