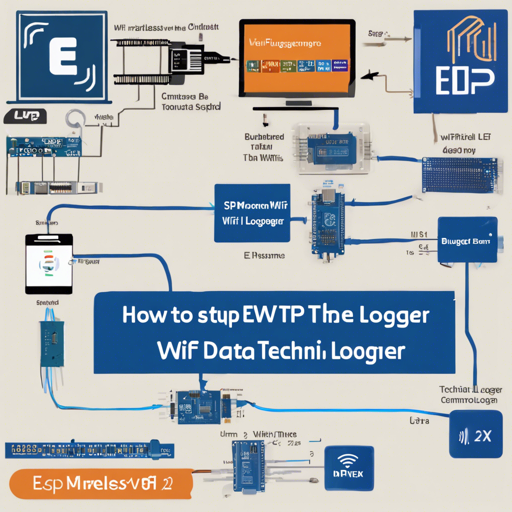
Welcome to this comprehensive guide on setting up your very own ESP BugRemote WiFi data logger using the ESP8266 and the ESPPL library! This project is perfect for those looking to explore remote data logging capabilities with an intuitive web interface.
Features of the ESP Bug Remote
- Remote ESP8266 Web Interface for easy access
- Effective monitoring and data logging
- ESP Bug Implant for enhanced functionality

Remote ESP8266 Web Interface
ESP Bug Implant
Installation Guide
Let’s dive into the installation process! This guide assumes you’ll be working in a Linux environment.
Step-by-Step Installation
- Update your machine:
- Install the Nginx server and PHP:
- Edit configuration files:
- Reload the Nginx configuration:
sudo apt updatesudo apt upgradesudo apt install nginxsudo apt install php-fpm php-mysqlsudo nano /etc/nginx/sites-available/defaultReplace the content in the config file with the following:
server {
        listen 80 default_server;
        listen [::]:80 default_server;

        # add webpage directory below
        root /home/user/directory;
        index index.php index.html player.html index.htm index.nginx-debian.html;
        server_name _;

        location {
            try_files $uri $uri =404;
        }

        location ~ \.php$ {
            include snippets/fastcgi-php.conf;
            # With php-fpm (or other unix sockets):
            fastcgi_pass unix:/var/run/php/php7.4-fpm.sock;
            # With php-cgi (or other tcp sockets):
            # fastcgi_pass 127.0.0.1:9000;
        }

        location ~ /\.ht {
            deny all;
        }
}sudo service nginx reloadUnderstanding the Code Configuration: An Analogy
Let’s visualize the configuration file editing process as setting up a cafe. You’re the owner, and you have a building (server) that needs to be correctly arranged for customers (requests) to enjoy delicious coffee (data).
In our cafe:
- The
listendirective acts like the doors of your cafe – they need to be open for customers to enter. - The
rootdirective is your actual cafe space where everything happens, where customers come to sit, chat, and enjoy their coffee (data). - The
indexdirective lists the most popular drinks on display as soon as customers walk in, allowing them to choose their favorites immediately. - The
locationentries are like the different sections of your cafe – the coffee bar (locations to serve data) and the restricted area behind the counter (the .ht files access is denied).
With everything properly configured, your cafe – the ESP BugRemote – is now perfectly poised to serve requests efficiently!
Troubleshooting
If you encounter difficulties during the installation or configuration, consider the following tips:
- Make sure the Nginx service is running by checking with
sudo service nginx status. - Review your configuration file for typos and ensure all file paths are correct.
- Check the permissions of your web directory to ensure Nginx can access it.
For more insights, updates, or to collaborate on AI development projects, stay connected with fxis.ai.
Conclusion
By following this guide, you should now have a fully functioning ESP BugRemote WiFi data logger using the ESP8266. Enjoy logging and monitoring your data with ease!
At fxis.ai, we believe that such advancements are crucial for the future of AI, as they enable more comprehensive and effective solutions. Our team is continually exploring new methodologies to push the envelope in artificial intelligence, ensuring that our clients benefit from the latest technological innovations.

