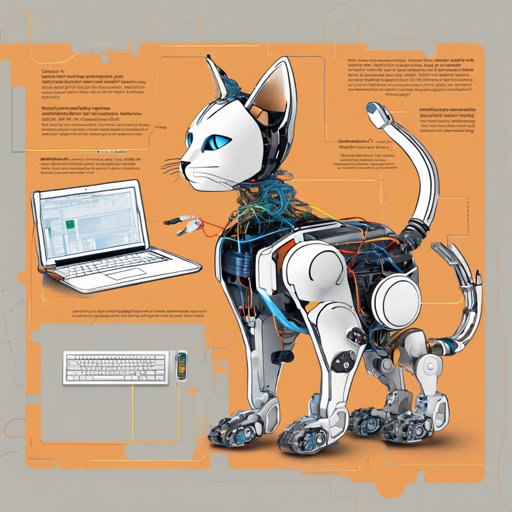
Building your own quadruped robot pet, like the fascinating OpenCat developed by Petoi, can be an exciting venture into the world of robotics. This guide will take you step-by-step through the setup process, making it user-friendly even for beginners. Let’s get your robotic friend up and running!
Introduction to OpenCat
OpenCat is an open-source robotic framework that allows enthusiasts to program and configure robotic pets powered by Arduino and Raspberry Pi. Inspired by the mechanics of Boston Dynamics’ Big Dog and Spot Mini, OpenCat fosters collaboration in quadruped robotics, bringing STEM education to a broader audience.
What You’ll Need
- Arduino or Raspberry Pi board
- USB uploader
- Access to a computer with Arduino IDE
- OpenCat repository files
- Additional sensors (optional)
Setup Process
To get your robotic pet operational, follow these simple steps:
Step 1: Download and Prepare
- Download the OpenCat repository and extract it. Remove the **-main** suffix from the folder name.
- Open the
OpenCat.inofile and define your robot version using the provided cpp definitions.
Step 2: Configure the Board
In this step, we’ll prepare the board for configuration:
#define BITTLE    // Petoi 9 DOF robot dog
#define NYBBLE     // Petoi 11 DOF robot cat
#define NyBoard_V0_1
#define NyBoard_V0_2
#define NyBoard_V1_0
#define NyBoard_V1_13
This is akin to providing your robot with its first identity card, making sure it knows who it is before the fun begins!
Step 3: Upload Code
- Comment out
#define MAIN_SKETCHto access the board configuration mode. - Upload the code through the Arduino IDE.
Step 4: Calibrate IMU
Calibrating the Inertial Measurement Unit (IMU) is like teaching your robot how to maintain its balance:
- Use the serial monitor to follow prompts for joint offsets and IMU calibration.
- Make sure the robot is placed flat during calibration.
Step 5: Finalize Setup
Uncomment #define MAIN_SKETCH and upload the finalized code again. Your robot now knows its mission!
Step 6: Calibrate Joints
If your robot requires it, calibrate the joints using either the serial monitor or the Petoi mobile app available on iOS and Android.
Step 7: Control Your Robot
Enjoy playing with your robot using an infrared remote or the Petoi App, bringing interaction to life!
Troubleshooting Common Issues
As with any innovative project, you might encounter a few bumps along the way. Here are some troubleshooting tips:
- **USB Upload Issues:** If the USB port is not recognized, ensure you’ve installed the correct drivers.
- **Calibration Problems:** Make sure the robot is on a flat surface during IMU calibration.
- **Connection Errors:** If the Petoi App doesn’t connect, check Bluetooth settings or try restarting the app.
For more insights, updates, or to collaborate on AI development projects, stay connected with fxis.ai.
Conclusion
Congratulations! You have successfully set up your OpenCat robotic pet. This enriching experience not only teaches you the mechanics of robotics but also inspires creativity and problem-solving skills. At fxis.ai, we believe that such advancements are crucial for the future of AI, as they enable more comprehensive and effective solutions. Our team is continually exploring new methodologies to push the envelope in artificial intelligence, ensuring that our clients benefit from the latest technological innovations.

