
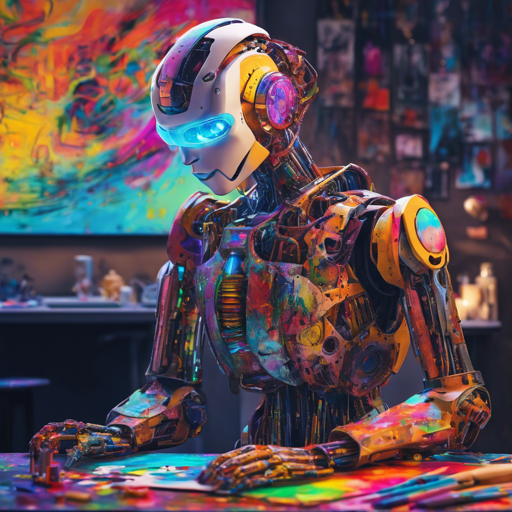
Have you ever wondered how machines can create stunning artworks with just a few strokes? Thanks to advancements in Deep Reinforcement Learning (DRL), we can now teach machines to paint effectively, mimicking the painting styles of human artists. In this article, we’ll break down the process of creating a painting agent using the framework from ICCV 2019’s groundbreaking paper, “Learning to Paint.” So, grab your brushes (or, in this case, your keyboard) and let’s get started!
Understanding the Concept
Imagine teaching a child how to paint a beautiful landscape using the fewest strokes possible. The process involves observing the scene, deciding where to place each brush stroke, and planning the overall composition. Similarly, this machine learning approach allows an artificial agent to determine color and position, just like a painter, by leveraging a neural renderer combined with model-based DRL.
Getting Started
To begin creating your painting agent, you need to set up your environment. Here’s a breakdown of the steps you need to follow:
- Install Dependencies: You need a few key libraries to get everything running smoothly.
pip3 install torch==1.1.0
pip3 install tensorboardX
pip3 install opencv-python
Testing Your Setup
Before we dive into testing, make sure you have the necessary files in your directory: renderer.pkl and actor.pkl. These files are crucial as they contain the models you’ll be working with.
- Download the trained neural renderer and a CelebA actor from these links:
Once downloaded, you can use the following commands to test your setup:
$ wget https://drive.google.com/uc?export=download&id=1-7dVdjCIZIxh8hHJnGTK-RA1-jL1tor4 -O renderer.pkl
$ wget https://drive.google.com/uc?export=download&id=1a3vpKgjCVXHON4P7wodqhCgCMPgg1KeR -O actor.pkl
$ python3 baselinetest.py --max_step=100 --actor=actor.pkl --renderer=renderer.pkl --img=imagetest.png --divide=4
To create a video of the painting process:
$ ffmpeg -r 10 -f image2 -i output/generated%d.png -s 512x512 -c:v libx264 -pix_fmt yuv420p video.mp4 -q:v 0 -q:a 0Training Your Model
Next, it’s time to train your neural renderer! Here’s how to do it:
- Begin by creating a differentiable painting environment:
$ python3 baselinetrain_renderer.py
$ tensorboard --logdir train_log --port=6006
This command will allow you to visualize your training process at http://127.0.0.1:6006.
$ cd baseline
$ python3 train.py --max_step=40 --debug --batch_size=96
$ tensorboard --logdir train_log --port=6006
Troubleshooting Common Issues
If you encounter any issues while setting up or running the code, here are a few troubleshooting tips:
- Model Files Missing: Double-check that
renderer.pklandactor.pklfiles are in the expected directories. - Library Installation Errors: Ensure that your Python version and pip are up to date, as compatibility issues might arise.
- TensorBoard Not Starting: Make sure you have properly installed TensorBoard and have no other services running on port 6006.
For more insights, updates, or to collaborate on AI development projects, stay connected with fxis.ai.
Expand Your Knowledge
If you want to delve deeper, check out the following resources:
- Research Paper on arXiv
- Video Demonstration on YouTube
- Discussion on Reddit
- Presentation Slides
- Replicate Project
Conclusion
Teaching machines to paint is a fascinating intersection of art and technology. With this knowledge, you can venture into the world of AI-driven creativity, unlocking new potentials in how we understand and create art. Enjoy your journey into the realm of machine painting!
At fxis.ai, we believe that such advancements are crucial for the future of AI, as they enable more comprehensive and effective solutions. Our team is continually exploring new methodologies to push the envelope in artificial intelligence, ensuring that our clients benefit from the latest technological innovations.