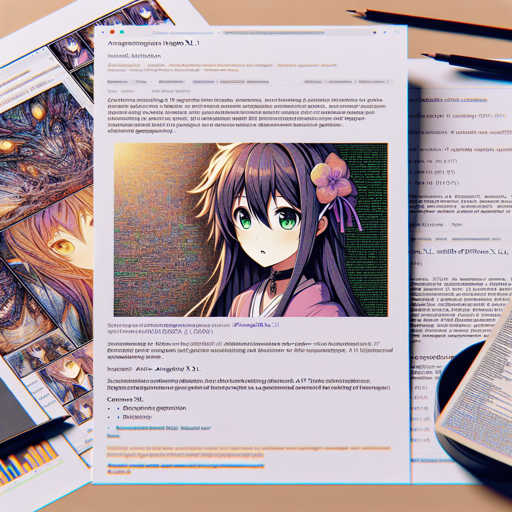
The world of AI-generated images is evolving, and with the release of Animagine XL 3.1, an open-source, anime-themed text-to-image model, enthusiasts can create stunning anime-style images with ease. This blog post will guide you through the process of getting started with Animagine XL 3.1, using it effectively, and troubleshooting any issues you may encounter along the way.
What is Animagine XL 3.1?
Animagine XL 3.1 is an advanced version of its predecessor, Animagine XL 3.0, designed specifically to produce high-quality anime images from textual prompts. Built on the Stable Diffusion XL framework, it enhances the capabilities of image generation, making it a valuable tool for anime fans, artists, and content creators.
How to Install and Use Animagine XL 3.1
Getting started is simple! Follow these steps to install and use Animagine XL 3.1 for your image generation needs:
Step 1: Install Required Libraries
First, you need to install the necessary libraries in your Python environment. Open your terminal and run the following command:
pip install diffusers transformers accelerate safetensors --upgradeStep 2: Run the Image Generation Code
Once the libraries are installed, you’re ready to generate images. Use the following example code as a template:
import torch
from diffusers import DiffusionPipeline

pipe = DiffusionPipeline.from_pretrained(
    "cagliostrolab/animagine-xl-3.1",
    torch_dtype=torch.float16,
    use_safetensors=True,
)
pipe.to('cuda')

prompt = "1girl, souryuu asuka langley, neon genesis evangelion, solo, upper body, v, smile, looking at viewer, outdoors, night"
negative_prompt = "nsfw, lowres, (bad), text, error, fewer, extra, missing, worst quality, jpeg artifacts, low quality, watermark, unfinished, displeasing, oldest, early, chromatic aberration, signature, extra digits, artistic error, username, scan, [abstract]"

image = pipe(
    prompt,
    negative_prompt=negative_prompt,
    width=832,
    height=1216,
    guidance_scale=7,
    num_inference_steps=28
).images[0]

image.save("./output/asuka_test.png")
In this code, you’re creating a gorgeous image based on your textual prompt that describes a character. It’s like having a magic spell that transforms your words into stunning visuals!
Using Tags Effectively
For optimal results, it’s important to use structured prompts. The recommended format is:
1girl/1boy, character name, from what series, everything else in any order.Using special tags such as masterpiece, best quality, and very aesthetic at the beginning of your prompt can enhance the quality of the generated images. Think of these tags as enhancements that make your image creation process even more effective!
Troubleshooting Common Issues
- If you encounter errors related to missing libraries, ensure you have installed all the required packages as mentioned in Step 1.
- If the image generation fails or produces unexpected results, check your prompt for accuracy and try adjusting the tags or formats used.
- For best results, make sure you are utilizing a GPU-enabled setup as this model is optimized for it.
For more insights, updates, or to collaborate on AI development projects, stay connected with fxis.ai.
Conclusion
Animagine XL 3.1 opens doors to a world of creativity by bridging the gap between words and visuals. By following the installation and usage guidelines, tapping into the potential of tags, and addressing troubleshooting tips, you can create visually stunning anime-style images with ease.
At fxis.ai, we believe that such advancements are crucial for the future of AI, as they enable more comprehensive and effective solutions. Our team is continually exploring new methodologies to push the envelope in artificial intelligence, ensuring that our clients benefit from the latest technological innovations.

