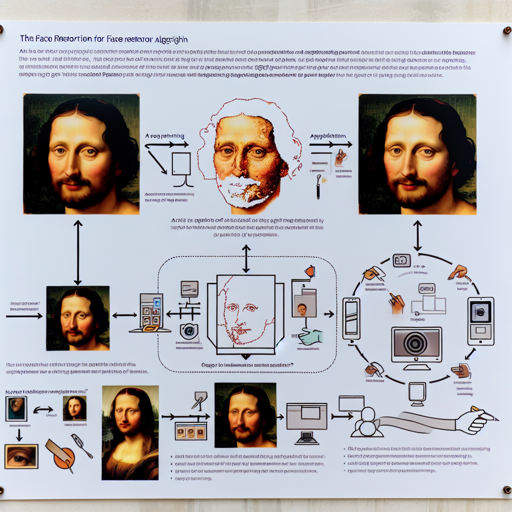
GFPGAN is an innovative blind face restoration algorithm designed for real-world image processing. This guide will walk you through the installation, quick inference, and training processes with intuitive explanations and troubleshooting tips. Let’s dive right in!
Understanding GFPGAN: An Analogy
Imagine you are an artist restoring a classic painting that has faded over time. You can’t rely on the original details because they are lost. Instead, you study similar paintings and use your knowledge (like generative facial priors in GFPGAN) to fill in the missing parts and restore the painting to a masterpiece. GFPGAN works in a similar manner—it uses prior facial information learned from a vast collection of images to restore low-quality face images.
Dependencies and Installation
Before using GFPGAN, ensure you have the necessary tools and dependencies installed. Here’s a quick checklist:
- Python >= 3.7 (Recommended to use Anaconda or Miniconda)
- PyTorch >= 1.7
- NVIDIA GPU + CUDA
Installation Steps
Follow these simple steps to install GFPGAN:
- Clone the repository:
- Install the required packages:
git clone https://github.com/xinntao/GFPGAN.git
cd GFPGAN# Install basicsr - https://github.com/xinntao/BasicSR
# Set BASICSR_EXT=True to compile the cuda extensions in the BasicSR
BASICSR_EXT=True pip install basicsr
# Install facexlib - https://github.com/xinntao/facexlib
pip install facexlib
pip install -r requirements.txtQuick Inference
To test GFPGAN on your images, you’ll need to download a pre-trained model:
- Download the pre-trained model:
wget https://github.com/TencentARC/GFPGAN/releases/download/v0.1.0/GFPGANv1.pth -P experiments/pretrained_modelspython inference_gfpgan_full.py --model_path experiments/pretrained_models/GFPGANv1.pth --test_path inputs/whole_imgs
# For aligned images
python inference_gfpgan_full.py --model_path experiments/pretrained_models/GFPGANv1.pth --test_path inputs/cropped_faces --alignedTraining Your Own Model
If you wish to train GFPGAN further, here are the steps:
- Prepare your dataset, such as FFHQ.
- Get the necessary pre-trained models and place them in the
experiments/pretrained_modelsfolder. - Modify the configuration file
train_gfpgan_v1.ymlas needed. - Run the training command:
python -m torch.distributed.launch --nproc_per_node=4 --master_port=22021 train.py -opt train_gfpgan_v1.yml --launcher pytorchTroubleshooting
If you encounter issues during installation or execution, consider the following troubleshooting tips:
- Ensure that your NVIDIA drivers and CUDA version are compatible with PyTorch.
- Check for any missing dependencies by reviewing the installation messages.
- If running on Google Colab, make sure your runtime has a GPU enabled.
For more insights, updates, or to collaborate on AI development projects, stay connected with fxis.ai.
A Word of Assurance
At fxis.ai, we believe that such advancements are crucial for the future of AI, as they enable more comprehensive and effective solutions. Our team is continually exploring new methodologies to push the envelope in artificial intelligence, ensuring that our clients benefit from the latest technological innovations.

