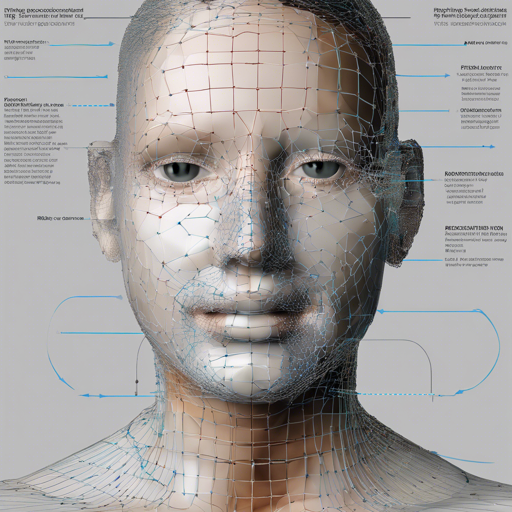
Welcome to the exciting world of 3D face reconstruction! If you’re looking to generate a detailed 3D mesh of a face from a 2D image, you’re in the right place. This guide will walk you through the process of setting up and using RingNet, an official repository for the paper “Learning to Regress 3D Face Shape and Expression from an Image without 3D Supervision” by Soubhik Sanyal and others.
What is RingNet?
RingNet is a model designed to take a single image of a face and output a comprehensive 3D mesh representing that face. Think of it as a high-tech sculptor that can create a 3D sculpture of a face just by looking at a 2D photograph!
Installation
Let’s get started with the installation process. Please follow these simple steps:
1. Set Up Your Virtual Environment
virtualenv --no-site-packages your_home_dir/.virtualenvs/RingNet
source your_home_dir/.virtualenvs/RingNet/bin/activate
pip install --upgrade pip==19.1.1
2. Clone the Project Repository
git clone https://github.com/soubhiksanyal/RingNet.git
cd RingNet
pip install -r requirements.txt
pip install opendr==0.77
mkdir model
3. Download Required Models
You’ll need to download the pre-trained RingNet weights and the FLAME model:
- Pre-trained weights: Copy to the model folder.
- FLAME 2019 model: Optional but recommended for further 3D manipulation.
Running the Demo
RingNet requires a loose crop of the face image. Provided in the input_images folder are sample images taken from the CelebA dataset.
To see how the predictions look, run:
python -m demo --img_path .input_images/000001.jpg --out_folder .RingNet_outputGenerating Textured Outputs
If you want to create a textured 3D mesh, run:
python -m demo --img_path .input_images/000001.jpg --out_folder .RingNet_output --save_texture=TrueTroubleshooting
If you run into any issues while using RingNet, consider the following troubleshooting tips:
- Ensure that you are running Python 2.7, as this installation was tested with that version.
- Check your TensorFlow and CUDA versions to ensure they match the compatibility requirements.
- Make sure all required models and folders are correctly downloaded and paths are accurate.
For any additional help, please feel free to reach out or explore community forums. For more insights, updates, or to collaborate on AI development projects, stay connected with fxis.ai.
Conclusion
At fxis.ai, we believe that such advancements are crucial for the future of AI, as they enable more comprehensive and effective solutions. Our team is continually exploring new methodologies to push the envelope in artificial intelligence, ensuring that our clients benefit from the latest technological innovations.

