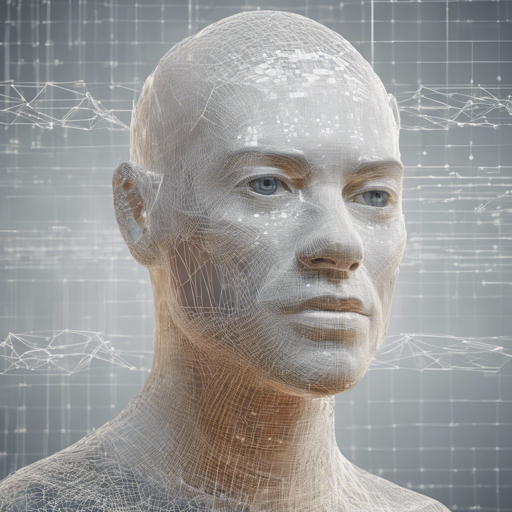
Welcome to the fascinating world of 3D facial geometry! In this blog, we will walk you through the process of using SynergyNet, a powerful framework for integrating 3D Morphable Models (3DMM) and 3D landmarks. It’s ideal for applications ranging from augmented reality to facial recognition.
What is SynergyNet?
Developed by Cho-Ying Wu, Qiangeng Xu, and Ulrich Neumann at the CGIT Lab of the University of Southern California, SynergyNet leverages the synergy between 3DMM and 3D landmarks to achieve state-of-the-art accuracy in 3D facial geometry. It provides features like fast inference, simple implementation, and high-quality face alignment and modeling.
Getting Started with SynergyNet
Here’s a step-by-step guide to get you up and running:
- Clone the SynergyNet Repository:
git clone https://github.com/choyingw/SynergyNet cd SynergyNet - Create a Conda Environment:
conda create --name SynergyNet conda activate SynergyNet - Install Required Packages:
pip install torch==1.9 torchvision opencv scipy matplotlib cython - Download Necessary Data:
Make sure you download the data from the provided links and extract them to the repository root.
- Compile Sim3DR and FaceBoxes:
cd Sim3DR ./build_sim3dr.sh cd ../FaceBoxes ./build_cpu_nms.sh cd .. - Run Inference:
python singleImage.py -f imgNote: Ensure that you’re using a compatible GPU for the default inference. If you wish to run on a CPU, comment out the .cuda() line in the script.
Understanding the Code with an Analogy
Imagine you’re a chef preparing a gourmet meal. The SynergyNet repository acts like your kitchen while the steps involved are equivalent to ingredients and cooking methods. Cloning the repository is like getting all the necessary ingredients from the market. Creating a conda environment is akin to organizing your kitchen space, ensuring that everything is in place for a smooth cooking experience. Installing the required packages is like pre-prepping your ingredients, ensuring you have everything ready to go for cooking your meal!
Simplified API for Convenient Usage
For those who want to quickly plug in SynergyNet into their projects, here’s how you can utilize the Simplified API:
import cv2
from synergy3DMM import SynergyNet

model = SynergyNet()
image = cv2.imread('your_image_path')
lmk3d, mesh, pose = model.get_all_outputs(image)
This succinctly allows you to retrieve 3D landmarks, face mesh, and face pose estimates in no time!
Benchmarking and Training
If you’re interested in evaluating the performance of your implementation, run the following command:
python benchmark.py -w pretrained/best.pth.tarThis will print out the results, showcasing the efficiency of SynergyNet.
For training your model, simply follow the steps from our Single Image Demo and ensure you have the right training dataset.
Troubleshooting
Should you encounter any issues during installation or inference operations, consider the following troubleshooting tips:
- Check that you are using the correct Python version (3.8) and PyTorch version (1.9).
- Ensure that all required packages are correctly installed. If you face issues with any specific package, reinstall it.
- If you receive errors related to CUDA, verify that your GPU drivers are updated and correctly set up.
For more insights, updates, or to collaborate on AI development projects, stay connected with fxis.ai.
Conclusion
SynergyNet is a stepping stone towards achieving high-quality 3D facial geometry modeling. With its straightforward setup, extensive features, and reliable performance, it’s an invaluable tool for researchers and developers alike.
At fxis.ai, we believe that such advancements are crucial for the future of AI, as they enable more comprehensive and effective solutions. Our team is continually exploring new methodologies to push the envelope in artificial intelligence, ensuring that our clients benefit from the latest technological innovations.

