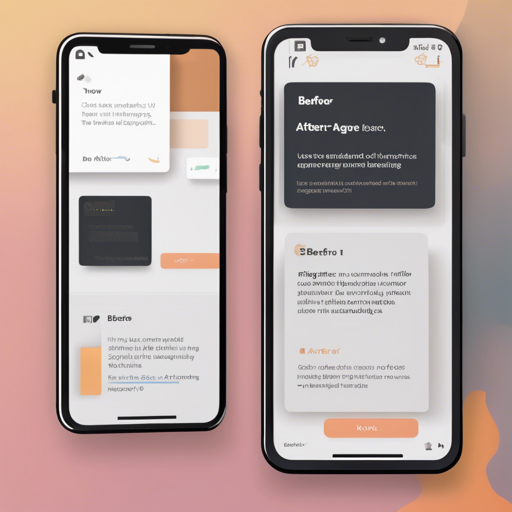
Welcome to this comprehensive guide on using the Before-After Flutter package! This unique tool allows developers to easily display the differences between two images, making it a fantastic asset for applications that require image comparison. Let’s dive in!
Installation Guide
To install the Before-After package, you need to add it to the dependencies section of your pubspec.yaml file. Here’s how:
dependencies:
  before_after: latest version
After adding this line, make sure to get the packages by running the appropriate command in your terminal.
Using Before-After
Now that you have installed the package, you can start using it in your Flutter application.
First, import the package:
import 'package:before_after/before_after.dart';Next, you can create a BeforeAfter widget. Here’s a simple example:
BeforeAfter(
  value: value,
  before: Image.asset('assets/after.png'),
  after: Image.asset('assets/before.png'),
  onValueChanged: (value) {
    setState(() => this.value = value);
  },
),
Customization Options
The BeforeAfter widget is equipped with numerous customization options that allow you to tailor its appearance and behavior according to your needs. Here are some key attributes you can modify:
- before: The widget displayed before the slider.
- after: The widget displayed after the slider.
- direction: Specifies the drag direction of the slider.
- height: Adjust the height of the BeforeAfter widget.
- width: Set the width of the BeforeAfter widget.
- trackColor: Change the color of the slider track.
Explaining the Code with an Analogy
Think of the BeforeAfter widget as a curtain that showcases two images, “before” and “after,” much like a reveal in a magic show. The slider acts as the curtain rod, allowing users to pull back or close the curtain to reveal what’s behind.
When you set up the widget, you’re essentially placing two beautiful paintings (your images) on the stage. The audience’s interaction with the slider (the curtain) allows them to control the reveal: they can slide it one way to see the “before” painting more clearly and slide it back to see the “after” painting.
Troubleshooting
If you face any issues while implementing the Before-After package, consider the following troubleshooting tips:
- Ensure that your images are located in the correct asset directory and that they are properly referenced in the
pubspec.yaml. - If the images do not display, double-check the path and that the images exist.
- If you experience any runtime errors, inspect the console for detailed error messages and ensure that all dependencies are up to date.
For more insights, updates, or to collaborate on AI development projects, stay connected with fxis.ai.
Conclusion
In conclusion, integrating the Before-After Flutter package into your projects can enhance user interaction and provide a visual representation of transformations. Experiment with the customization options to create an engaging experience for your users.
At fxis.ai, we believe that such advancements are crucial for the future of AI, as they enable more comprehensive and effective solutions. Our team is continually exploring new methodologies to push the envelope in artificial intelligence, ensuring that our clients benefit from the latest technological innovations.
Live Demo
You can check out a live demo of this package on the official GitHub repository here: GitHub Before-After Repository.

