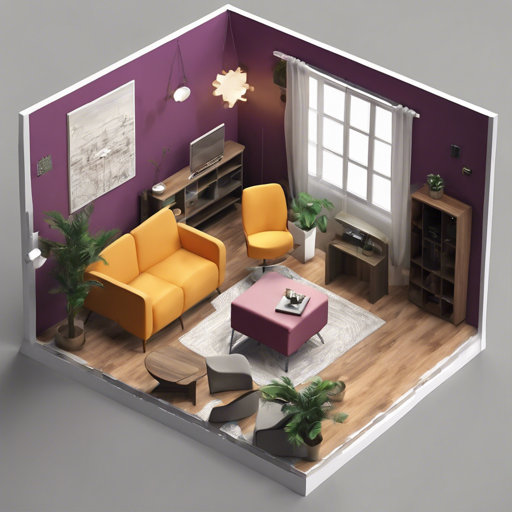
Welcome to our comprehensive guide on using the PyTorch LayoutNet, an unofficial implementation of an innovative method for reconstructing the 3D layout of a room from a single RGB image. If you’ve ever wondered how rooms can be visually understood by technology, this tool is like a magic lens that transforms flat images into 3D spaces!
Prerequisites
Before diving into the nitty-gritty, ensure your setup meets the following requirements:
- Python 3
- PyTorch 0.4.1
- NumPy
- SciPy
- Pillow
- torchfile
- OpenCV 3.1 (for pre-processing)
- Open3D (for layout 3D viewer)
- Shapely (for layout 3D viewer)
Installation and Setup
To get started, follow these steps:
- Download the trained model from here (350M).
- Extract the downloaded zip file and place the three resulting files into the ckpt folder. You should see files prefixed with ckptepoch_30_*.
Pre-processing Your Images
To optimize your input images, align camera poses with floors by using the following command:
python visual_preprocess.py --img_glob assertdemo.png --output_dir assertoutput_preprocessHere’s a breakdown of the command:
- –img_glob: Path to your image(s).
- –output_dir: Directory for saving the processed images.
You’ll end up with aligned RGB images and line segments, as well as detected vanishing points.
Layout Prediction with LayoutNet
Once your images are pre-processed, it’s time to predict the layout:
python visual.py --path_prefix ckptepoch_30 --img_glob assertoutput_preprocess/demo_aligned_rgb.png --line_glob assertoutput_preprocess/demo_aligned_line.png --output_dir assertoutputArguments explained:
- –path_prefix: Prefix path to your trained model.
- –img_glob: Path to your VP aligned image.
- –line_glob: Path to the corresponding line segment image.
- –output_dir: Path for saving results.
- For better results, consider adding options like –flip, –rotate and –post_optimization.
Visualization of Prediction Results
After predicting the layout, you can visualize the results using a simple command:
python visual_3d_layout.py --ignore_ceiling --img assertoutput_preprocess/demo_aligned_rgb.png --layout assertoutput/demo_aligned_rgb_cor_id.txtThis opens a 3D viewer where you can interact with the predicted layout. Use your mouse to control the viewport and explore!
Training Your Own Model
If you’re ambitious and want to train your own model, start with downloading the official data and pretrained model. Here’s how:
- Download the official dataset and pretrained model from this link.
- Execute python torch2pytorch_data.py for conversion.
Finally, train your model using commands like:
python train.py --id exp_defaultAlternatively, to train using only RGB channels, use:
python train.py --id exp_rgb --input_cat img --input_channels 3Gradient Ascent Post-Optimization
This is a refined method replacing the traditional layout optimization. It treats the layout generation process akin to navigating a maze, adjusting the course until the best view is found. The steps involve maximizing a score derived from the corner and edge probability maps.
Troubleshooting Tips
If you encounter issues, here are some troubleshooting steps:
- Check if all dependencies are correctly installed.
- Ensure image paths are correct and files are accessible.
- For more insights, updates, or to collaborate on AI development projects, stay connected with fxis.ai.
@In case of any errors during execution, look into the logs for specifics to identify the problem. One common issue comes from missing files or incorrect paths. Double-check that all required files are correctly placed as indicated above.
Quantitative Evaluation
Lastly, evaluate your model’s performance using:
python eval.py --path_prefix ckptepoch_30 --flip --rotate 0.333 0.666This results in metrics such as 3D IoU, corner error, and pixel error.
At fxis.ai, we believe that such advancements are crucial for the future of AI, as they enable more comprehensive and effective solutions. Our team is continually exploring new methodologies to push the envelope in artificial intelligence, ensuring that our clients benefit from the latest technological innovations.
Conclusion
You now have the knowledge to tackle 3D room layout reconstruction using PyTorch LayoutNet. Whether you’re merely experimenting or diving deep into training your model, the possibilities are vast! Embrace this technology and see the changes happen before your eyes.

