If you’re delving into the world of artificial intelligence and computer vision, the CLIP (Contrastive Language-Image Pre-training) model developed by OpenAI is an essential tool. This blog will guide you through how to use the CLIP model effectively and troubleshoot common issues you might encounter along the way.
What is the CLIP Model?
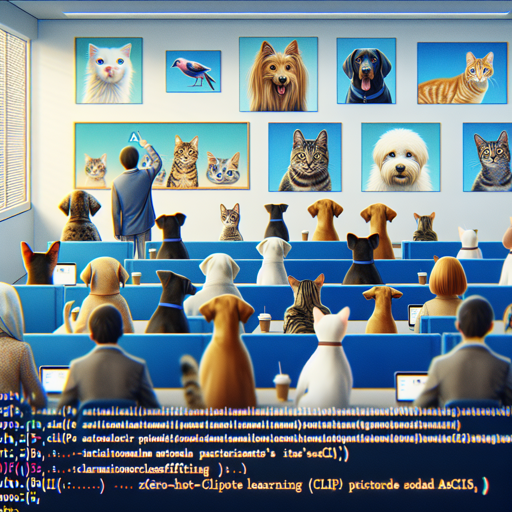
The CLIP model is a fascinating creation that offers robust capabilities for zero-shot image classification tasks. Imagine you have a classroom with various animals and you need to identify them without prior training. Instead of recalling specific lessons (or model training), you can simply show each student (image) a picture and ask them to guess if it’s a cat or a dog based on their understanding, just like how CLIP works.
Getting Started with CLIP
Before diving into the code, ensure you have the required libraries installed. The CLIP model operates seamlessly with both the PIL (Python Imaging Library) for image processing and the Transformers library from Hugging Face for model functionality. You can set it up with the following command:
pip install transformers PillowUsing the CLIP Model
Step 1: Import Required Libraries
Begin your script by importing the necessary libraries:
from PIL import Image
import requests
from transformers import CLIPProcessor, CLIPModel
Step 2: Load the CLIP Model and Processor
Next, load the pre-trained CLIP model and its accompanying processor:
model = CLIPModel.from_pretrained("openai/clip-vit-base-patch32")
processor = CLIPProcessor.from_pretrained("openai/clip-vit-base-patch32")
Step 3: Process Your Image
Now, you can fetch an image from a URL and process it. Here’s a sample code to illustrate how:
url = "http://images.cocodataset.org/val2017/000000039769.jpg"
image = Image.open(requests.get(url, stream=True).raw)
Step 4: Classify the Image
Finally, you can classify the image by providing corresponding text labels:
inputs = processor(text=["a photo of a cat", "a photo of a dog"], images=image, return_tensors="pt", padding=True)
outputs = model(**inputs)
logits_per_image = outputs.logits_per_image
probs = logits_per_image.softmax(dim=1)
Understanding the Code: An Analogy
Think of the CLIP model as a new student (model) in a school where images (students) are shown with labels (text). The student is learning how to match the image of a cat with “a photo of a cat” rather than studying exactly what a cat looks like. With each image processed, the student becomes better at guessing—similar to how CLIP uses vast data to refine its predictions! This transparency in learning from diverse inputs allows it to excel without the need for extensive class-specific training.
Troubleshooting Common Issues
When working with the CLIP model, you may encounter some common issues. Here are some troubleshooting tips:
- Model Loading Errors: Ensure that you have an active internet connection as the model and processor need to be downloaded.
- Image Format Issues: Make sure the image is in a compatible format, such as JPEG or PNG.
- Labeling Errors: Check that the labels you are using for images accurately describe the content before classification.
For more insights, updates, or to collaborate on AI development projects, stay connected with fxis.ai.
Conclusion
The CLIP model opens up exciting avenues in computer vision research. By leveraging its capabilities, researchers can explore generalization and robustness in image classification like never before. Remember, at fxis.ai, we believe that such advancements are crucial for the future of AI, as they enable more comprehensive and effective solutions. Our team is continually exploring new methodologies to push the envelope in artificial intelligence, ensuring that our clients benefit from the latest technological innovations.

