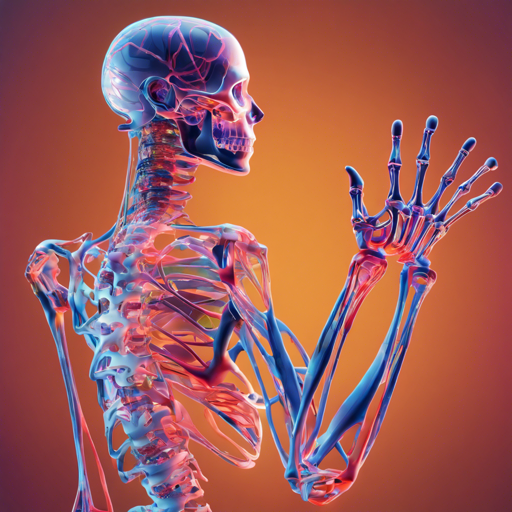
Welcome to the ultimate guide on using the end-to-end library for automatic character rigging, skinning, and blend shapes generation. This is based on the groundbreaking work published in SIGGRAPH 2021, “Learning Skeletal Articulations with Neural Blend Shapes”. By following this guide, you will learn how to set up and use this innovative tool!
Prerequisites
Before diving into the code, ensure that your system meets the necessary requirements:
- Anaconda installed
- Ubuntu 18.04 for testing the code
To prepare your Anaconda environment, run the following commands:
conda env create -f environment.yaml
conda activate neural-blend-shapes
If you choose to install manually, make sure you have the following packages:
- PyTorch 1.8
- TensorBoard
- TQDM
- Chumpy
Note: The provided environment only includes the PyTorch CPU version for compatibility purposes.
Quick Start
To get started with the pre-trained model dedicated to biped characters, download and extract the pretrained model from:
After placing the pre_trained folder in the project directory, you can run the following command:
python demo.py --pose_file=.eval_constants/sequences/greeting.npy --obj_path=.eval_constants/meshes/maynard.objThis will produce a delightful greeting animation saved as demo.obj, along with the generated skeleton (demoskeleton.bvh) and weight matrix (demoweight.npy). If you want the bvh file animated, use the argument --animated_bvh=1.
Output Options
Now, you have the option to output the animation as a single .fbx file! To do this, run:
python demo.py --animated_bvh=1 --obj_output=0
cd blender_scripts
blender -b -P nbs_fbx_output.py -- --input ..demo --output ..demo/output.fbx
Make sure you have Blender (version 2.80 or later) installed to generate the FBX file.
Testing Custom Meshes
Want to try the model with your own meshes? Just point the --obj_path argument to your mesh file. Ensure that your mesh is triangulated and consistently oriented. Use:
--normalize=1if needed for spatial alignment.
Training from Scratch
If you aim to train the model from the ground up, you’ll need to download the training set from:
After extracting the folders under .dataset, run:
python train.py --envelope=1 --save_path=[path to save the model] --device=[cpucuda:0cuda:1...]For better efficiency in the second stage, pre-process your data to extract blend shapes by running:
python preprocess_bs.py --save_path=[same path as the first stage] --device=[computing device]Then train again using:
python train.py --residual=1 --save_path=[same path as the first stage] --device=[computing device] --lr=1e-4Visualization with Blender
Use Blender’s Python API (version 2.80) to render your 3D mesh animations. To pass arguments to the Python script, use:
blender [blend file path (optional)] -P [python script path] [-b (running at backstage, optional)] -- --arg1 [ARG1] --arg2 [ARG2]Troubleshooting Tips
If you encounter any issues during implementation, here are some troubleshooting ideas:
- Verify your Anaconda environment is correctly set up and activated.
- Ensure that all dependencies are properly installed.
- Check for errors indicating unsupported file types or corrupted data.
- Confirm that your Blender version is compatible with the script.
- Review the arguments being passed to ensure they are correct.
For more insights, updates, or to collaborate on AI development projects, stay connected with fxis.ai.
Conclusion
At fxis.ai, we believe that such advancements are crucial for the future of AI, as they enable more comprehensive and effective solutions. Our team is continually exploring new methodologies to push the envelope in artificial intelligence, ensuring that our clients benefit from the latest technological innovations.
Final Thoughts
By following this guide, you can seamlessly navigate through the installation and usage of the Neural Blend Shapes library, creating expressive animations with ease. Happy coding!

