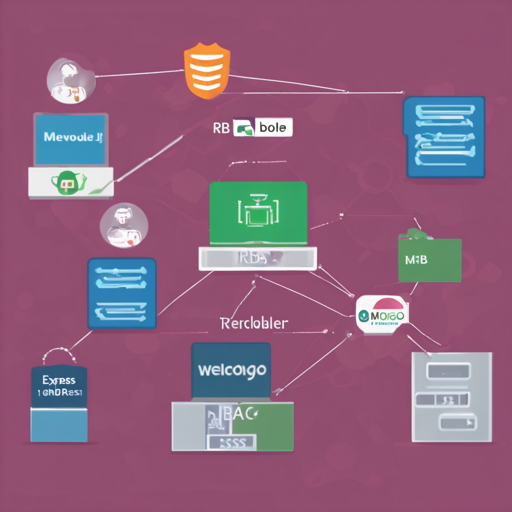
This blog serves as a guide to help you navigate through the RBAC MERN Boilerplate project, offering a seamless starting point for MERN applications with Role-Based Access Control (RBAC). This project is continuously evolving in terms of features and best practices.
What You’ll Learn
- Understanding the Technology Stack
- Running the Application with Docker and VS Code
- Data Seeding and Permission Management
- Troubleshooting Common Issues
Technology Stack
The RBAC MERN Boilerplate utilizes a combination of technologies for both the client and server sides, ensuring a robust and efficient application.
Client Side:
- React: A JavaScript library for building user interfaces.
- Ant Design Pro: A design system for enterprise-level products, enhancing user experience.
- Testing Library: A tool for testing React components.
- Umi Request: An HTTP client for making requests from the browser to the server.
Server Side:
- Node.js: A runtime for executing JavaScript on the server.
- Express.js: A minimal and flexible Node.js web application framework.
- MongoDB: A NoSQL database platform to store our application data.
- Mongoose: An ODM library for MongoDB and Node.js.
- Jest: A JavaScript testing framework for running tests.
Running the Application
You can run this application in two prominent ways: using Docker or running it manually through Visual Studio Code (VS Code).
Running with Docker
To set up with Docker, you can choose one of the two docker-compose files:
- docker-compose.mongocloud.yml: For a MongoDB.com hosted cluster.
- docker-compose.yml: For a local MongoDB container.
Before you proceed, make sure to edit the MongoDB URL settings in the respective docker-compose files to suit your environment, particularly the MONGODB_CLOUD_URL or REACT_APP_API_URL.
Running Commands:
To start your application using Docker for a local MongoDB, use the following commands:
sh
cd project-root
docker-compose build
docker-compose up
For using a cloud-hosted MongoDB, simply replace the file name in your command to docker-compose.mongocloud.yml.
Running with Visual Studio Code
Prerequisites:
- Ensure that Node.js and MongoDB are installed on your machine.
Steps:
Start by creating a .env file in your server directory which should resemble the following:
DB_HOST=localhost
DB_PORT=27017
DB_NAME=appdb
JWT_SECRET=secret
JWT_EXPIRES_IN=3600
PORT=5000
IS_MONGODB_CLOUD_URL=false # set this true for cloud
MONGODB_CLOUD_URL=mongodb+srv:// USER:PASSWORD@cluster0.abcd.mongodb.net/myFirstDatabase?retryWrites=true
Then, run the server and client projects in separate terminals. Commands include:
sh
cd server
npm run db:up
npm start
sh
cd client-pro
npm start
Data Seeding and Permission Management
Once your application is running, you will need to seed your database. This can be done by executing the following commands within the app server container:
sh
docker exec -it appserver bash
npm run db:seed
npm run db:migrate
You will also want to explore the new permission management UI, which is an integral part of this boilerplate. This enables efficient role management for users.
Troubleshooting Common Issues
If you encounter any issues while running the application, consider the following troubleshooting tips:
- Ensure Docker and Docker Compose are installed correctly on your machine.
- Check for any syntax errors in your environment variables.
- Verify MongoDB connection URLs in your .env and docker-compose files.
- Make sure your terminal sessions are pointing to the correct directories for server and client commands.
For more insights, updates, or to collaborate on AI development projects, stay connected with fxis.ai.
Final Words
At fxis.ai, we believe that such advancements are crucial for the future of AI, as they enable more comprehensive and effective solutions. Our team is continually exploring new methodologies to push the envelope in artificial intelligence, ensuring that our clients benefit from the latest technological innovations.

