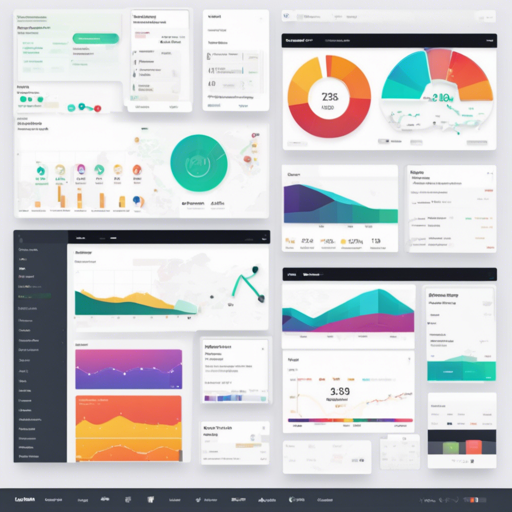
If you’re looking for an efficient way to create stunning dashboards for your applications, look no further than the Airframe Dashboard. This high-quality, open-source admin analytics template, developed with React, is designed to be responsive and adaptable on any device. In this blog post, we’ll walk you through the installation and configuration process as well as how to customize this powerful tool to fit your needs.
Getting Started with Airframe
To begin, you’ll want to ensure you have everything set up properly. Airframe is built using Node.js, React, and Webpack, allowing for a seamless development and production experience.
Prerequisites
- Node.js (Version 10.0.0 or higher)
Installation Steps
- Extract the contents of the package to your local machine.
- Open Terminal and navigate to the extracted directory.
- Run
npm installto install the necessary dependencies. Ensure that a hidden file named.npmrcexists in the directory.
Running the Development Environment
To start the development server, simply enter the following command:
npm startCreating a Production Build
When you’re ready to create a production-ready build, run:
npm run build:prodThis will create minified files in the dist directory, ready for deployment.
Understanding the Structure: An Analogy
Think of the Airframe project as a cozy workshop for crafting exquisite furniture. Just as a woodworker organizes tools and materials neatly, you’ll find a well-organized project structure. Here’s how it corresponds:
- app/components – Like your toolset where each tool serves a purpose, this is where your custom React components reside.
- app/styles – Imagine this as the paint and varnish store—global CSS styles are stored here, enhancing the aesthetic appeal of your application.
- app/layout – The blueprint for your furniture pieces. The AppLayout component controls your application’s structure.
- app/routes – This acts as the map, guiding visitors through the various pages of your application.
Customizing Your Build
You can tailor your build by modifying the Webpack configuration files located in the build directory. Check the official Webpack documentation for more details.
Defining Routes
Routes can be defined in static and dynamic formats:
- Static Imports: Pages are eagerly loaded, benefiting from a holistic page approach, but increasing initial load times.
- Dynamic Imports: Pages load as needed, enhancing initial speed at the cost of load times when navigating.
Troubleshooting Common Issues
If you encounter challenges during setup or implementation, here are a few troubleshooting tips:
- Ensure that Node.js is installed and the correct version is being used.
- Check for missing dependencies by running
npm installagain. - If the development server fails to start, verify you are located in the right directory.
For more insights, updates, or to collaborate on AI development projects, stay connected with fxis.ai.
Theming Your Application
Customizing the theme of your dashboard is easy! Use the ThemeProvider component to set the initial styles and colors:
Credits and Resources
Airframe Dashboard leverages several robust libraries and frameworks such as:
At fxis.ai, we believe that such advancements are crucial for the future of AI, as they enable more comprehensive and effective solutions. Our team is continually exploring new methodologies to push the envelope in artificial intelligence, ensuring that our clients benefit from the latest technological innovations.
Final Thoughts
The Airframe Dashboard is a powerful tool that opens the door to a plethora of possibilities for your web applications. With its responsive design and extensive features, it empowers developers to build intuitive and feature-rich dashboards that cater to various user needs.
Happy coding!

